Airtable
This page provides information for connecting your application to your Airtable base and for using queries to manage its content.
Connection parameters
The following section is a reference guide that provides a complete description of all the parameters to connect to an Airtable base.
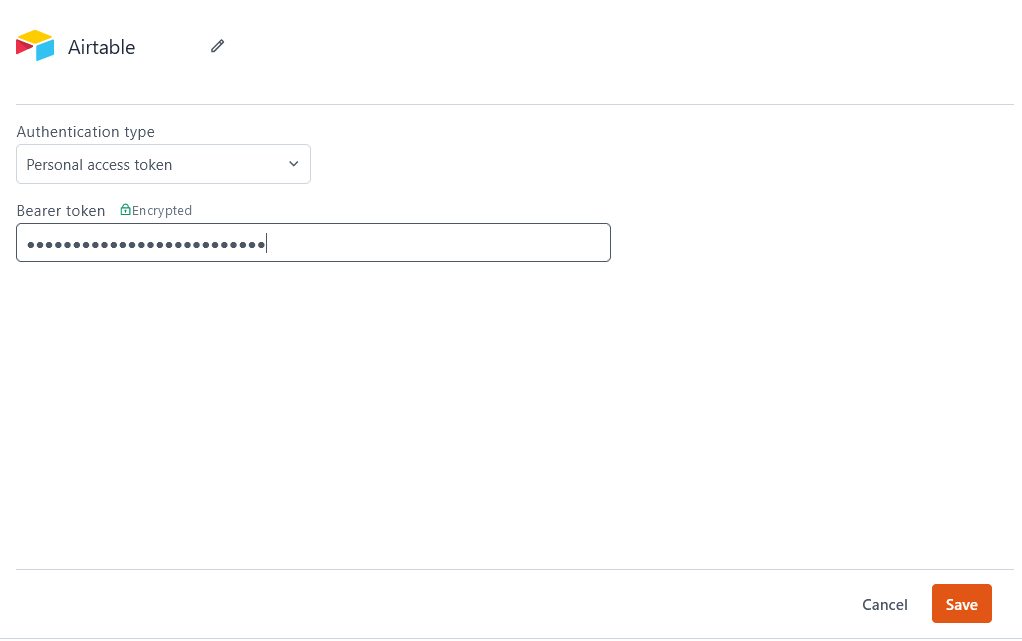
Authentication type
- API key: This authentication type has been deprecated by Airtable. For more information, see Airtable Api Key Deprecation Notice.
- Personal access token: Connects to Airtable using the provided Airtable Personal Access Token.
Create queries
The following section is a reference guide that provides a complete description of all the read and write operation commands with their parameters to create Airtable queries.
The Airtable Web API is rate-limited to 5 requests per second, per base. If you exceed this rate, your requests fail with a 429 status code for the next 30 seconds.
Find your Base ID
In your queries, you'll need to specify the Base ID and Table Name to access your data.
The Base ID can be found in the URL of the webpage that displays your database. It's the first sub-string after https://airtable.com/, prefixed by app. For example, the Base ID for the following URL is appZueQaLuTv7fSXjJx:
https://airtable.com/appZueQaLuTv7fSXjJx/tblPhSJD7fdIKLY3j1/viwqRLKs978DFI6Q?blocks=hide
For more information, see Finding Airtable IDs.
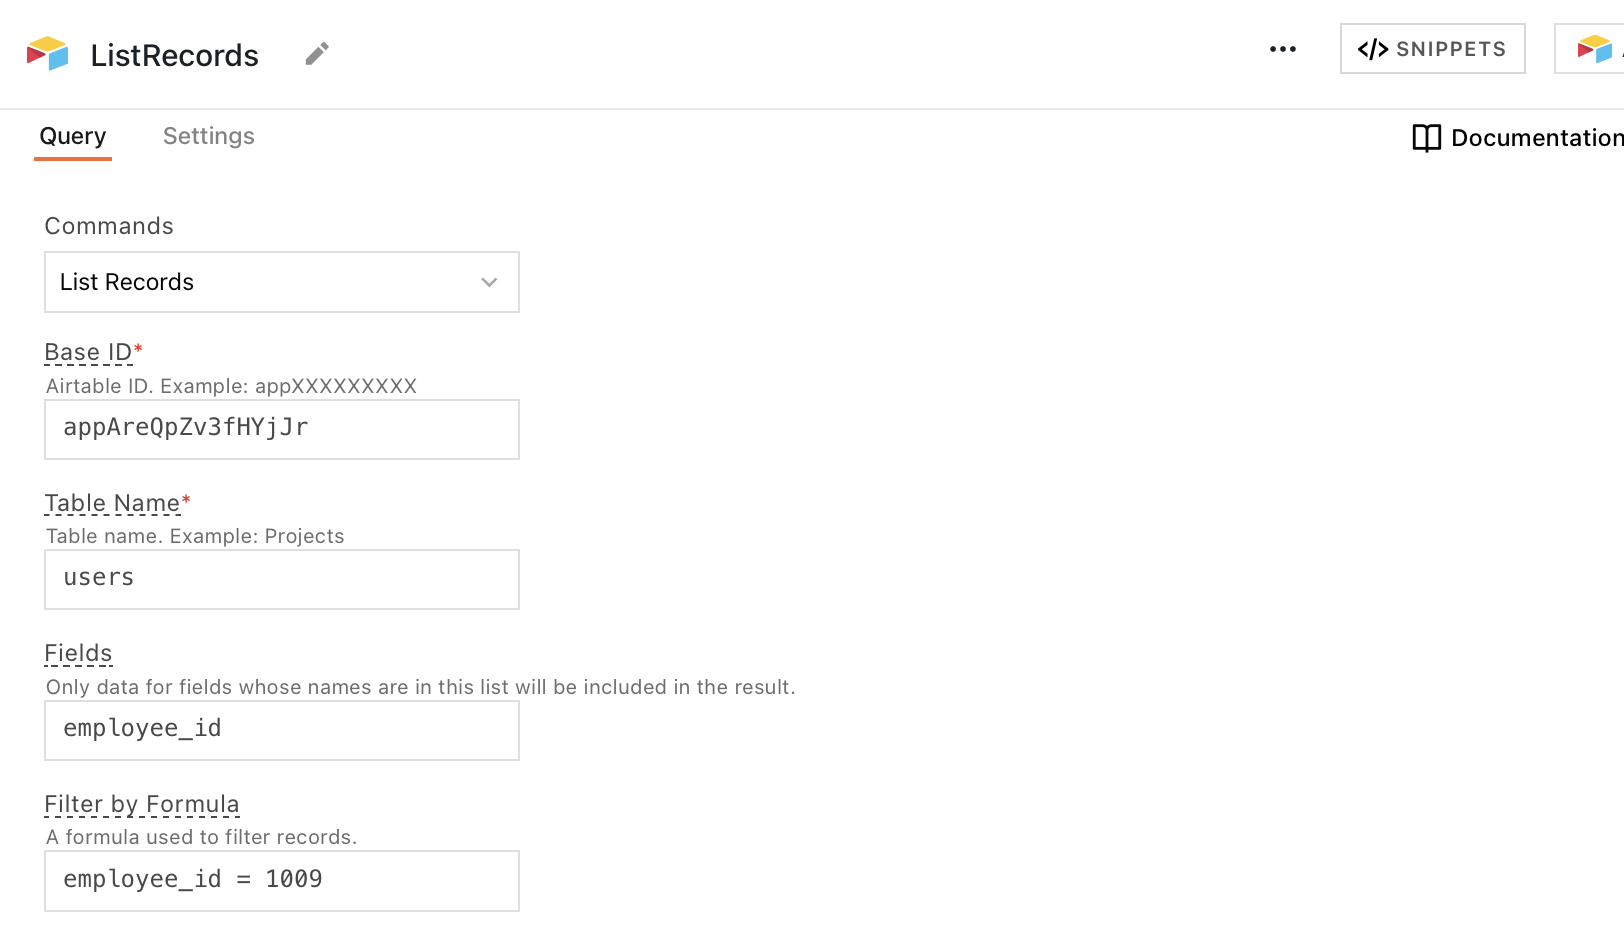
List records
This command to fetches data from your Airtable base. You can use the query configuration fields to filter, sort, and format the data that's returned to your app. The following section lists all the fields available for the List records command.
Base ID
A string that uniquely identifies your Airtable base. To find your Base ID, see Find your Base ID.
Table name
The name of the table to query from your base.
Fields
Specifies which columns to return. If left blank, all columns are returned. The input to this field must be encoded using the JavaScript encodeURI() method. See below:
Each column to return is written as fields[]=COLUMN_NAME. For example, to return a column called name:
{{ encodeURI("fields[]=name") }}
To return multiple columns, separate the strings with &. For example, to return both name and date_of_birth:
{{ encodeURI("fields[]=name") + "&" + encodeURI("fields[]=date_of_birth") }}
Below, a variable number of columns are chosen with a Multi-Select widget and each is encoded and joined with an &:
{{
  MultiSelect1.selectedOptionValues.map(value => {
    return encodeURI(`fields[]=${value}`)
  }).join("&")
}}
Filter by formula
Expects an Airtable formula, which only returns the records where the formula evaluates to true. For example:
You can return only records where the permissionLevel column is admin:
permissionLevel = "admin"
Or you can return records where the percentage of positive reviews are above an 85% threshold:
goodReviews / SUM(goodReviews, badReviews) > .85
Max records
Sets a limit for how many records are allowed to be selected in this query.
Page size
Sets an integer limit for how many records can be returned at a time; further results are sent in subsequent requests. The default value for this field is 100.
Sort
Specifies which column to sort results by. The input for this field must be encoded using the JavaScript encodeURI() method. See below:
Each column to sort by is written as sort[SORT_LEVEL_INDEX][field]=COLUMN_NAME. For example, to sort by a column called name:
{{ encodeURI("sort[0][field]=name") }}
To sort by multiple columns, separate the strings with &. For example, to sort by name and then by date_of_birth:
{{ encodeURI("sort[0][field]=name") + "&" + encodeURI("sort[1][field]=date_of_birth") }}
Below, a variable number of columns are chosen with a Multi-Select widget and each is encoded and joined with an &:
{{
  MultiSelect1.selectedOptionValues.map((value, index) => {
    return encodeURI(`sort[${index}][field]=${value}`)
  }).join("&")
}}
Cell format
Sets whether certain values are returned in string or json format. For example, ticked checkboxes are "checked" in string format, or true in JSON format.
Time zone
Sets the time zone to use for displaying date values, expects value like 'America/Chicago'. For more information, see Supported Timezones for SET_TIMEZONE.
User locale
Sets format for displaying dates according to locale, expects a value like 'en-gb' for British English. For more information, see Supported locale modifiers for SET_LOCALE.
Offset
This field expects an offset token from the query's prior response. That token acts as a cursor to tell your base where in its records to begin returning results.
Create records
This command creates new entries in your Airtable base. The following section lists all the fields available for the Create records command.
Base ID
A string that uniquely identifies your Airtable base. To find your Base ID, see Find your Base ID.
Table name
The name of the table to query from your base.
Records
Data for the new records to create. Expects an array of objects, where each object has a fields key containing an object of column key-value pairs. For example:
[
  {
    "fields": {
      "name": {{ UserForm.data.name }},
      "date_of_birth": {{ UserForm.data.date_of_birth }},
      "employee_id": {{ UserForm.data.employee_id }}
    }
  },
]
Delete a record
This command deletes one entry in your Airtable base. The following section lists all the fields available for the Delete a record command.
Base ID
A string that uniquely identifies your Airtable base. To find your Base ID, see Find your Base ID.
Table name
The name of the table to query from your base.
Record ID
The string ID of the record to delete.
Retrieve a record
This command fetches one entry from your Airtable base by its string ID. The following section lists all the fields available for the Retrieve a record command.
Base ID
A string that uniquely identifies your Airtable base. To find your Base ID, see Find your Base ID.
Table name
The name of the table to query from your base.
Record ID
The string ID of the record to retrieve.
Update records
This command updates entries in your Airtable base, selected by their string IDs. The following section lists all the fields available for the Update records command.
Base ID
A string that uniquely identifies your Airtable base. To find your Base ID, see Find your Base ID.
Table name
The name of the table to query from your base.
Records
Data for the records to update. Expects an array of objects, where each object has an id key containing the ID of the record to update, and a fields key containing an object of column key-value pairs. For example:
[
  {
    "id": {{ UsersTable.selectedRow.id }},
    "fields": {
      "name": {{ UsersTable.selectedRow.name }},
      "date_of_birth": {{ UsersTable.selectedRow.date_of_birth }},
      "employee_id": {{ UsersTable.selectedRow.employee_id }}
    }
  },
]
Troubleshooting
If you are experiencing difficulties, you can refer to the Datasource troubleshooting guide or contact the support team using the chat widget at the bottom right of this page.
See also
- Display and Lookup Data in Table - Learn how to display query results in a Table and enable users to look up data with ease.
- Search and Filter Table Data - Guide on adding search and filter functionality to Tables for better data navigation.
- Update Data - Understand how to update data in your application using Form widget.
- Insert Data - Step-by-step instructions on inserting new records into your database using Form widget.