Integrate Custom Authentication
This page shows you how to create a reusable custom authentication module using UI Packages. It guides you through building a secure login flow that can be shared across multiple applications, while allowing each app to customize its branding and behavior as needed.
Prerequisites
- A UI Package that has already been created. For more information, see UI Modules tutorials.
- An authenticated datasource with user sign-in endpoints.
Configure package
Follow these steps to create a reusable and secure sign-in flow by configuring a Login UI Module. This module handles user authentication, supports dynamic branding, and exposes login state back to the parent app:
- In the UI Module, create the login interface using the following widgets:
- Input Widget (
emailInput) – Used to capture the user's email or username. - Input Widget (
passwordInput) – Used to capture the user's password. Set the input type to password to mask the input. - Button Widget (
loginButton) – Triggers the login process when clicked. - Text Widget – Displays the application name.
- Image Widget – Displays the brand logo.
- Create a new query to authenticate users and retrieve an authentication token:
Example:
//POST METHOD
https://example.api.co/auth/v1/token?grant_type=password
Body:
{
  "email": {{emailInput.text}},
  "password": {{passwordInput.text}}
}
The values for email and password are dynamically taken from the input widgets (emailInput and passwordInput) inside the module.
- Create a new JSObject inside the UI Module to manage the login logic. This function will call the
loginAPI query with the providedemailandpassword, store the authentication token in local storage usingstoreValue, and navigate to the Home page upon successful authentication.
Example:
export default {
  async loginUser() {
    // Validate that both email and password fields are filled
    if (!emailInput.text || !passwordInput.text) {
      showAlert("Enter both email and password", "error");
      return { token: "", isLoggedIn: false };
    }

    try {
      // Call the login API query with the user-provided credentials
      const response = await login.run({
        email: emailInput.text,
        password: passwordInput.text
      });

      // If the API returns a token, store it and navigate to the Home page
      if (response.token) {
        await storeValue("access_token", response.token); // Store token for app-wide access
        navigateTo("Home"); // Redirect user after successful login
        return { token: response.token, isLoggedIn: true }; // Return token and status to be used as module outputs
      } else {
        showAlert("Login failed", "error");
        return { token: "", isLoggedIn: false };
      }
    } catch (e) {
      // Handle any API or network errors
      showAlert("Invalid credentials", "error");
      return { token: "", isLoggedIn: false };
    }
  }
};
For any future user actions, use the stored access token to access the relevant API endpoint. If the token has expired, refresh the access token for the user to proceed further. You can use the Appsmith Object and Functions within the JS module code, which can be executed in the App.
-
In the UI tab, set the onClick event of the Login button to run the
loginUserfunction defined in the JSObject. -
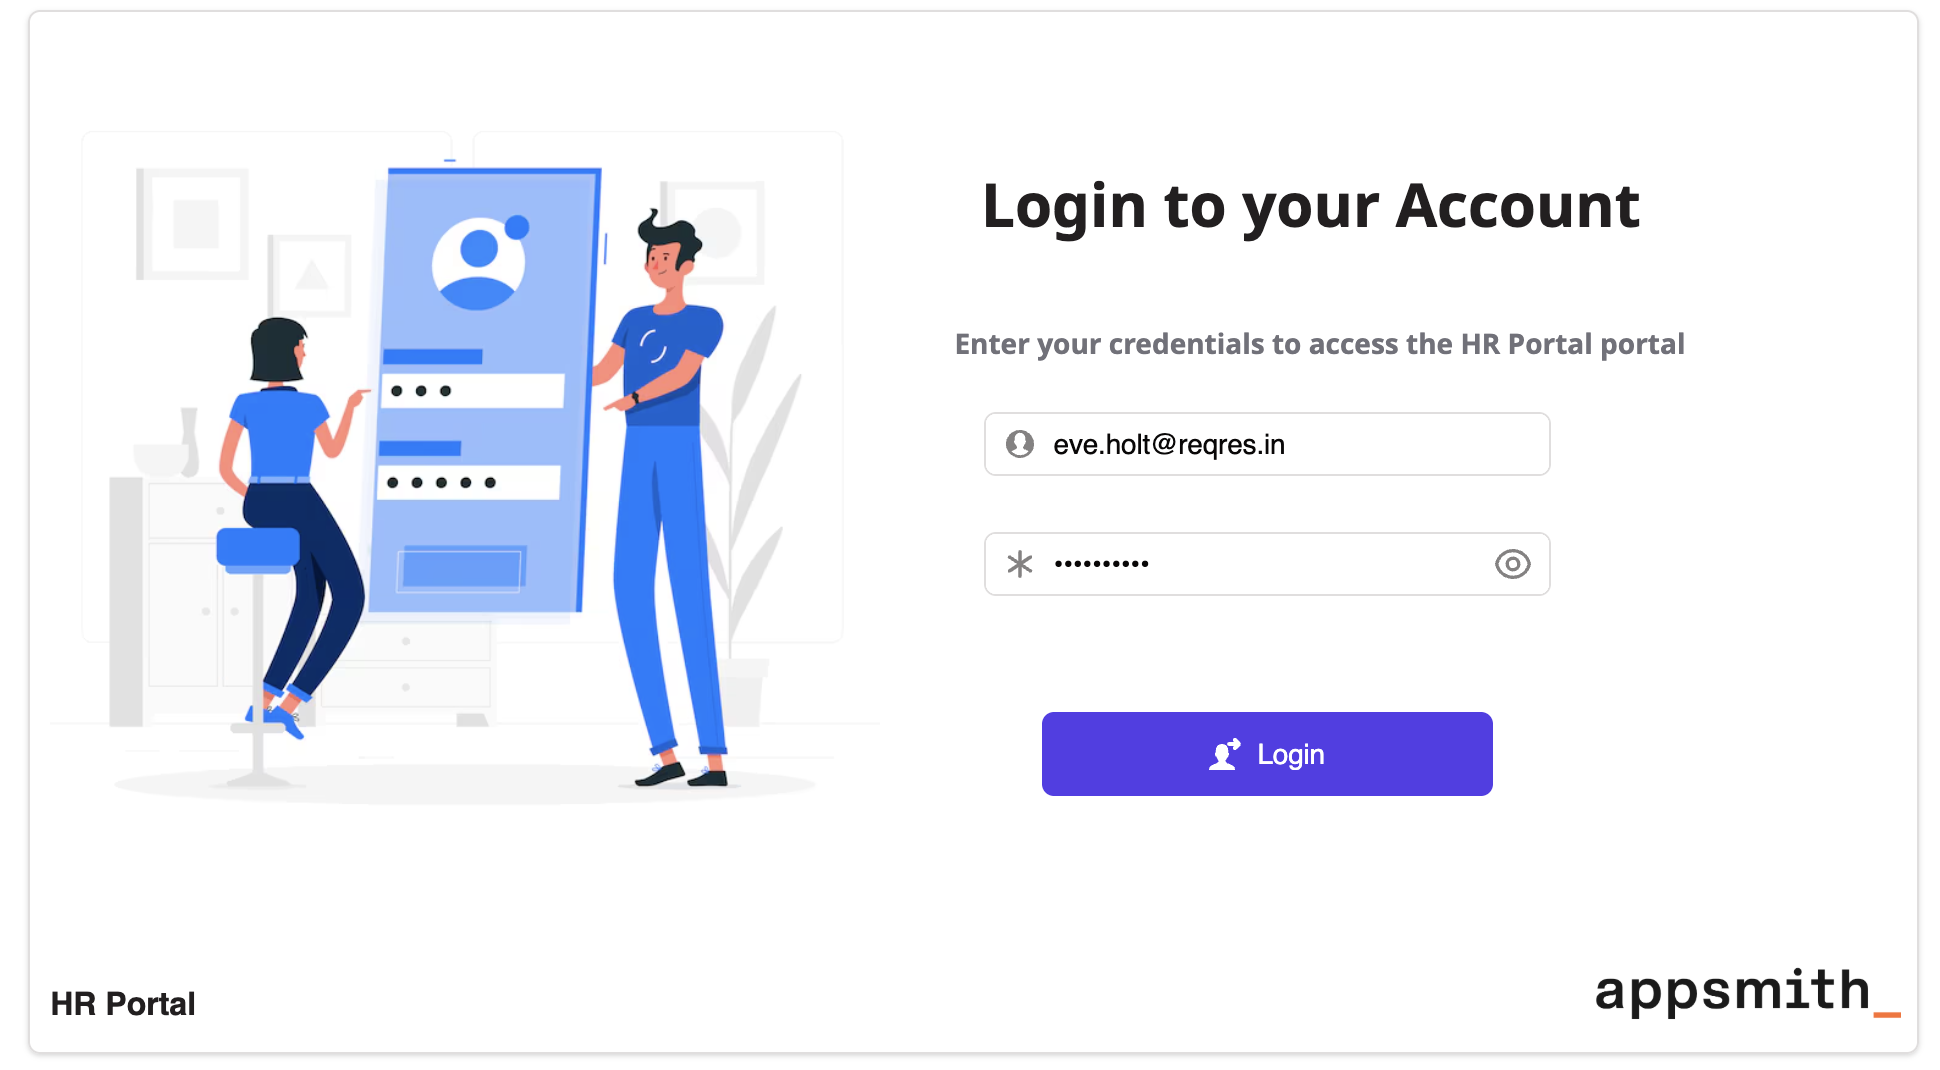
To customize the login UI based on the app using the module, use Inputs to pass values such as the application name and logo URL from the parent app. This allows each application to display its own branding, such as “HR Portal” or “CRM Dashboard”, without modifying the module.
Example: Create two inputs, appName and logoUrl, to reuse the same login module across different applications such as an HR portal or a CRM dashboard.
appName: Set the Text widget’s text property to:{{ inputs.appName }}logoUrl: Set the Image widget’s source property to:{{ inputs.logoUrl }}
- To pass login state or token ID from the module back to the parent app, use Outputs. This allows you to expose specific values such as authentication tokens or login status that the parent application can access and respond to.
Example: Create an output named token and pass the token ID received from the login API:
//token
{{ authUtils.loginUser.data.token }}
The token can then be accessed in the parent app using LoginModule1.outputs.token.
-
Publish the package.
-
To integrate custom authentication into your app, open the application and navigate to the UI tab. Drag the
loginmodule onto the desired page and configure theappNameandlogoUrlinputs.
Based on your application’s requirements, you can use the token output to store the login state, authorize API requests, or redirect users after successful authentication. To log out a user, call the revoke API to invalidate the access token, use the clear store() action to remove stored user data, and redirect the user to the LoginPage.
See also
-
Refresh access token – Use this guide to implement a refresh token strategy and maintain session continuity for apps using short-lived access tokens. View guide
-
Module inputs – Learn how to define and use inputs to customize module behavior such as dynamic app names, logos, or redirect paths. View reference
-
Module outputs – Understand how to expose values like access tokens or login status from a module to the parent app. View reference