GraphQL
This page provides information for connecting your application to a GraphQL API and for using queries to manage its content.
Connection parameters
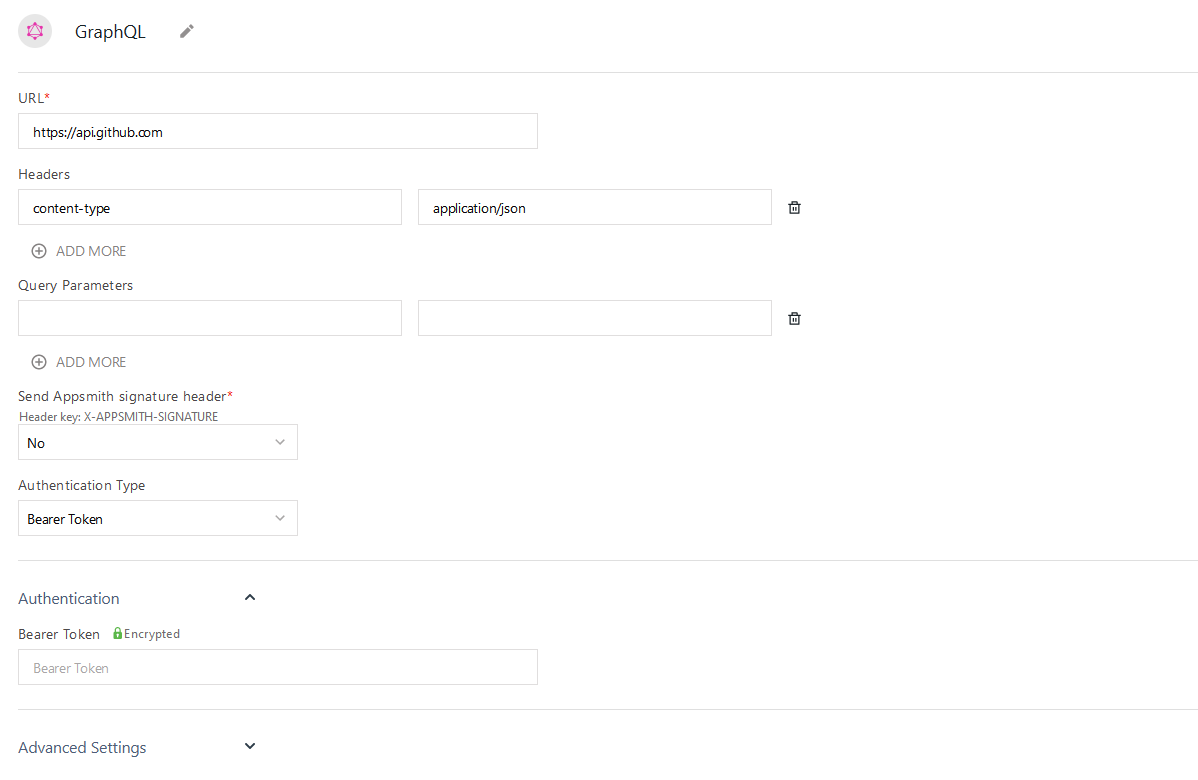
Authenticated GraphQL API datasources share configuration fields with the Authenticated API datasource. For a reference guide of the fields for configuring your Authenticated GraphQL API, see Authenticated API.
Create queries
The following section is a reference guide that provides a complete description of all the read and write operation commands with their parameters to create GraphQL queries.
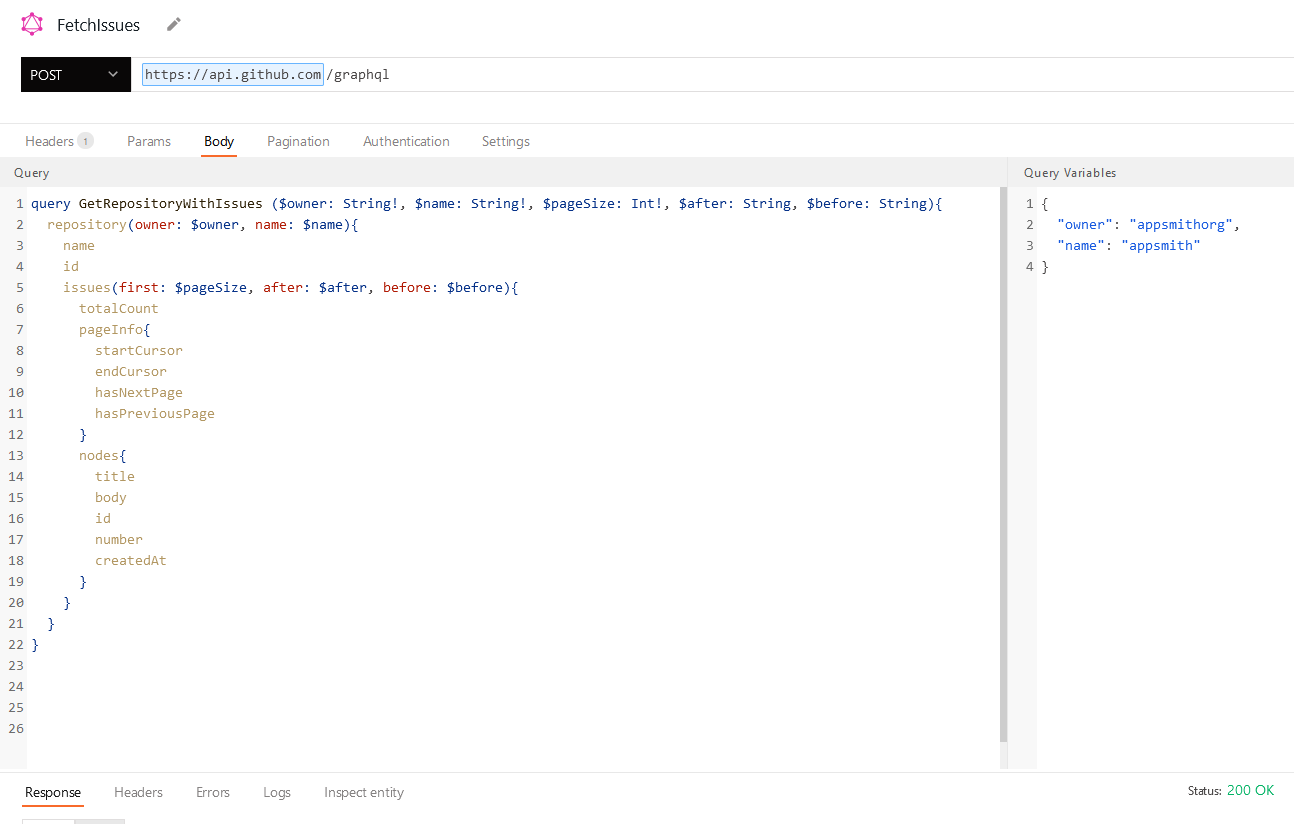
GraphQL queries are written in the Body tab of the query screen. Use the Query window to construct your query or mutation, and the adjacent Query Variables window to add any variables to map into your query.
Fetch records
Use a query like the one below to retrieve records from your datasource.
In the example below, UsersTable is the name of a Table widget used to search for a user by name and display the results. This query uses limit and offset to implement server-side pagination.
In the Query window:
query GetUserData ($name: String!, $limit: Int!, $offset: Int!) {
  user (name: $name, first: $first, offset: $offset) {
    id
    name
    email
    date_of_birth
  }
}
In the Query variables window:
{
  "name": {{ UsersTable.searchText }},
  "limit": {{ UsersTable.pageSize }},
  "offset": {{ UsersTable.pageOffset }}
}
Insert a record
Use an insert mutation to add new records to your GraphQL datasource.
In the example below, CreateUserForm is the name of a Form widget used to collect input for the new record.
In the Query window:
mutation CreateUser (name: String!, email: String!, date_of_birth: String!){
  createUser(name: $name, email: $email, date_of_birth: $date_of_birth) {
    id
    name
    email
    date_of_birth
  }
}
In the Query variables window:
{
  "name": {{ CreateUserForm.data.name }},
  "email": {{ CreateUserForm.data.email }},
  "date_of_birth": {{ CreateUserForm.data.date_of_birth }}
}
Update a record
Use an update mutation to modify an existing record in your dataset.
In the example below, UpdateUserForm is the name of a Form widget used to collect input for the new record.
In the Query window:
mutation UpdateUser (id: Int!, name: String, email: String, date_of_birth: String){
  updateUser(id: $id, name: $name, email: $email, date_of_birth: $date_of_birth) {
    id
    name
    email
    date_of_birth
  }
}
In the Query variables window:
{
  "id": {{ UpdateUserForm.data.id }}
  "name": {{ UpdateUserForm.data.name }},
  "email": {{ UpdateUserForm.data.email }},
  "date_of_birth": {{ UpdateUserForm.data.date_of_birth }}
}
Delete a record
Use a delete mutation to delete an existing record from your dataset.
In the example below, UsersTable is the name of a Table widget used to display the results from a previous query.
In the Query window:
mutation DeleteUser (id: Int!){
  deleteUser(id: $id) {
    id
    name
    email
    date_of_birth
  }
}
In the Query variables window:
{
  "id": {{ UpdateUserForm.data.id }}
}
Troubleshooting
If you are experiencing difficulties, you can refer to the Datasource troubleshooting guide or contact the support team using the chat widget at the bottom right of this page.
See also
- Download Files - Learn how to download files using a URL with API integrations.
- Upload Files using API - Step-by-step guide on how to upload files via API using the Filepicker widget.