SMTP
This page provides information for connecting the SMTP datasource and for sending emails from your Appsmith app.
Connection parameters
The following section is a reference guide that provides a complete description of all the parameters to connect SMTP.
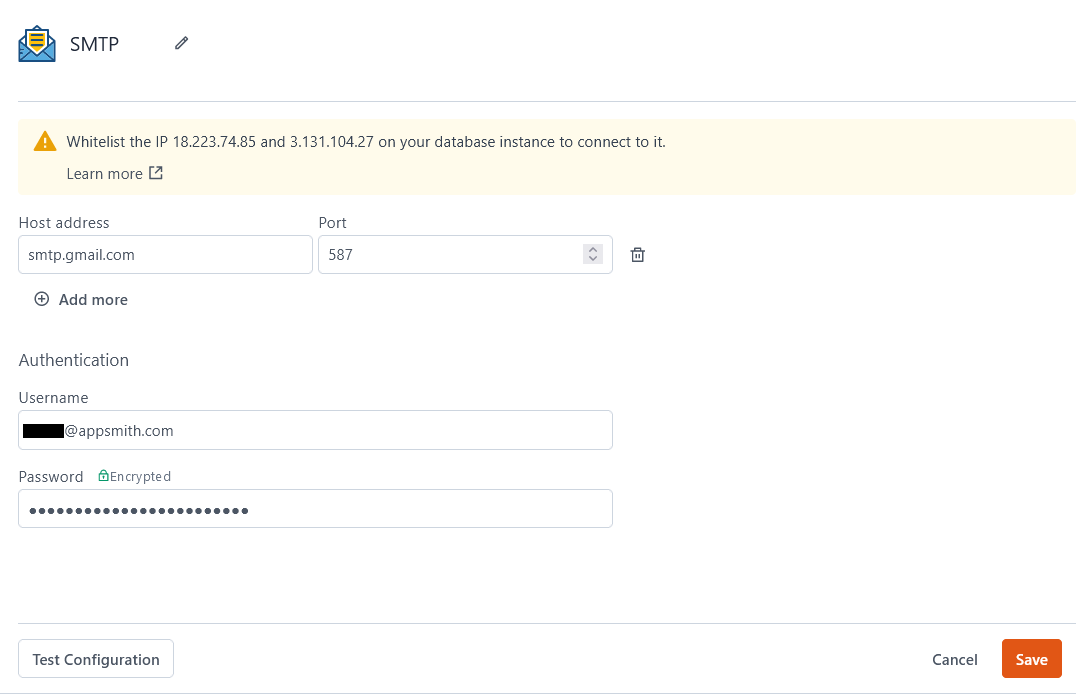
Host Address
The network location of your SMTP provider. This can be a domain name or an IP address.
Port
The port number to connect to on the server.
Username
The username for your email user.
Password
The password for your email user's account.
Some SMTP providers use a multi-factor authentication flow and may require you to generate a special password specifically to authenticate your Appsmith app. For example, Gmail SMTP requires you to generate an app password to use instead of your usual password. For more details, see Sign in with app passwords.
Create queries
The following section is a reference guide that provides a complete description of all the parameters for sending emails.
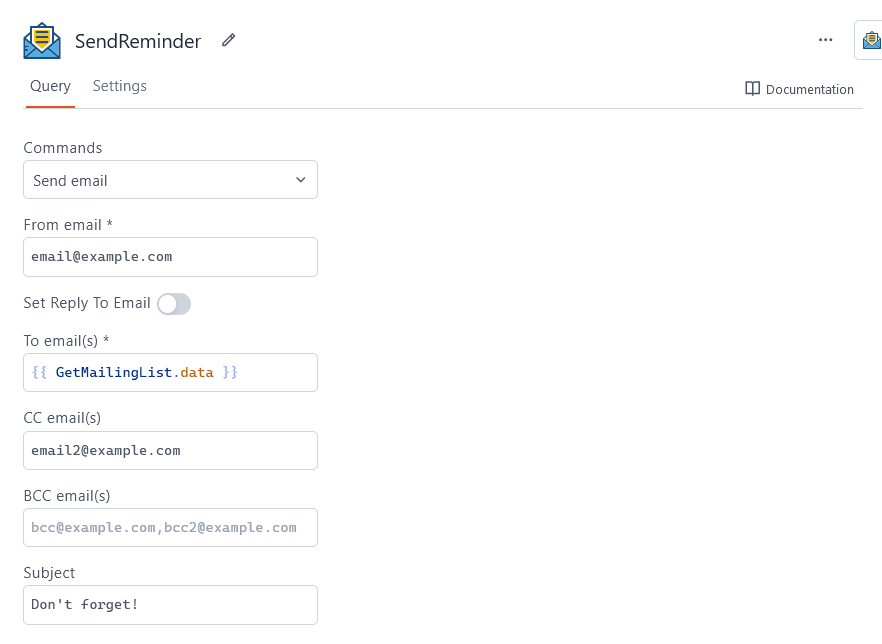
Send email
This action sends an email through your SMTP server.
From email
Sets the email address that appears as the message sender.
Set Reply To Email
Toggles the Reply to email field.
Reply to email
Sets an email address that receives all replies to your email.
To email(s)
Sets the email addresses that receive your email. For multiple recipients, separate the addresses with commas.
CC email(s)
Sets the email addresses that receive a CC (carbon copy). For multiple CC recipients, separate the addresses with commas.
BCC email(s)
Sets the email addresses that receive a BCC (blind carbon copy). For multiple BCC recipients, separate the addresses with commas.
Subject
Sets the email's subject line.
Body
Sets the main body of the email. Supports rich text and HTML.
Attachment(s)
Attaches one or more files to the email. Expects an array of file objects.
See how to guide on Send Emails.
Troubleshooting
If you are experiencing difficulties, you can refer to the Datasource troubleshooting guide or contact the support team using the chat widget at the bottom right of this page.
See also
- Send Emails - Learn how to send emails using the SMTP plugin, including configuration and integration steps.