Configure Default Access to Apps
To simplify access management and ensure consistency across the Appsmith instance, you may need to provide default access to all users. This page explains how to provide default access to all users accessing the Appsmith instance.
Prerequisites
Before you start, ensure you have:
- A self-hosted Appsmith instance running the Commercial Edition. If not installed yet, see the Installation Guides.
- A Business Plan. For more information, see Pricing.
- Access to update the role configuration. If you need access, contact your Instance Administrator.
Configure permissions
Follow these steps to configure permissions:
-
Navigate to Admin Settings by clicking the gear (⚙️) icon in the top right corner of your Appsmith Dashboard.
-
From the sidebar, under Access Control, select Roles.
-
Toggle Default Roles to show all the default roles.
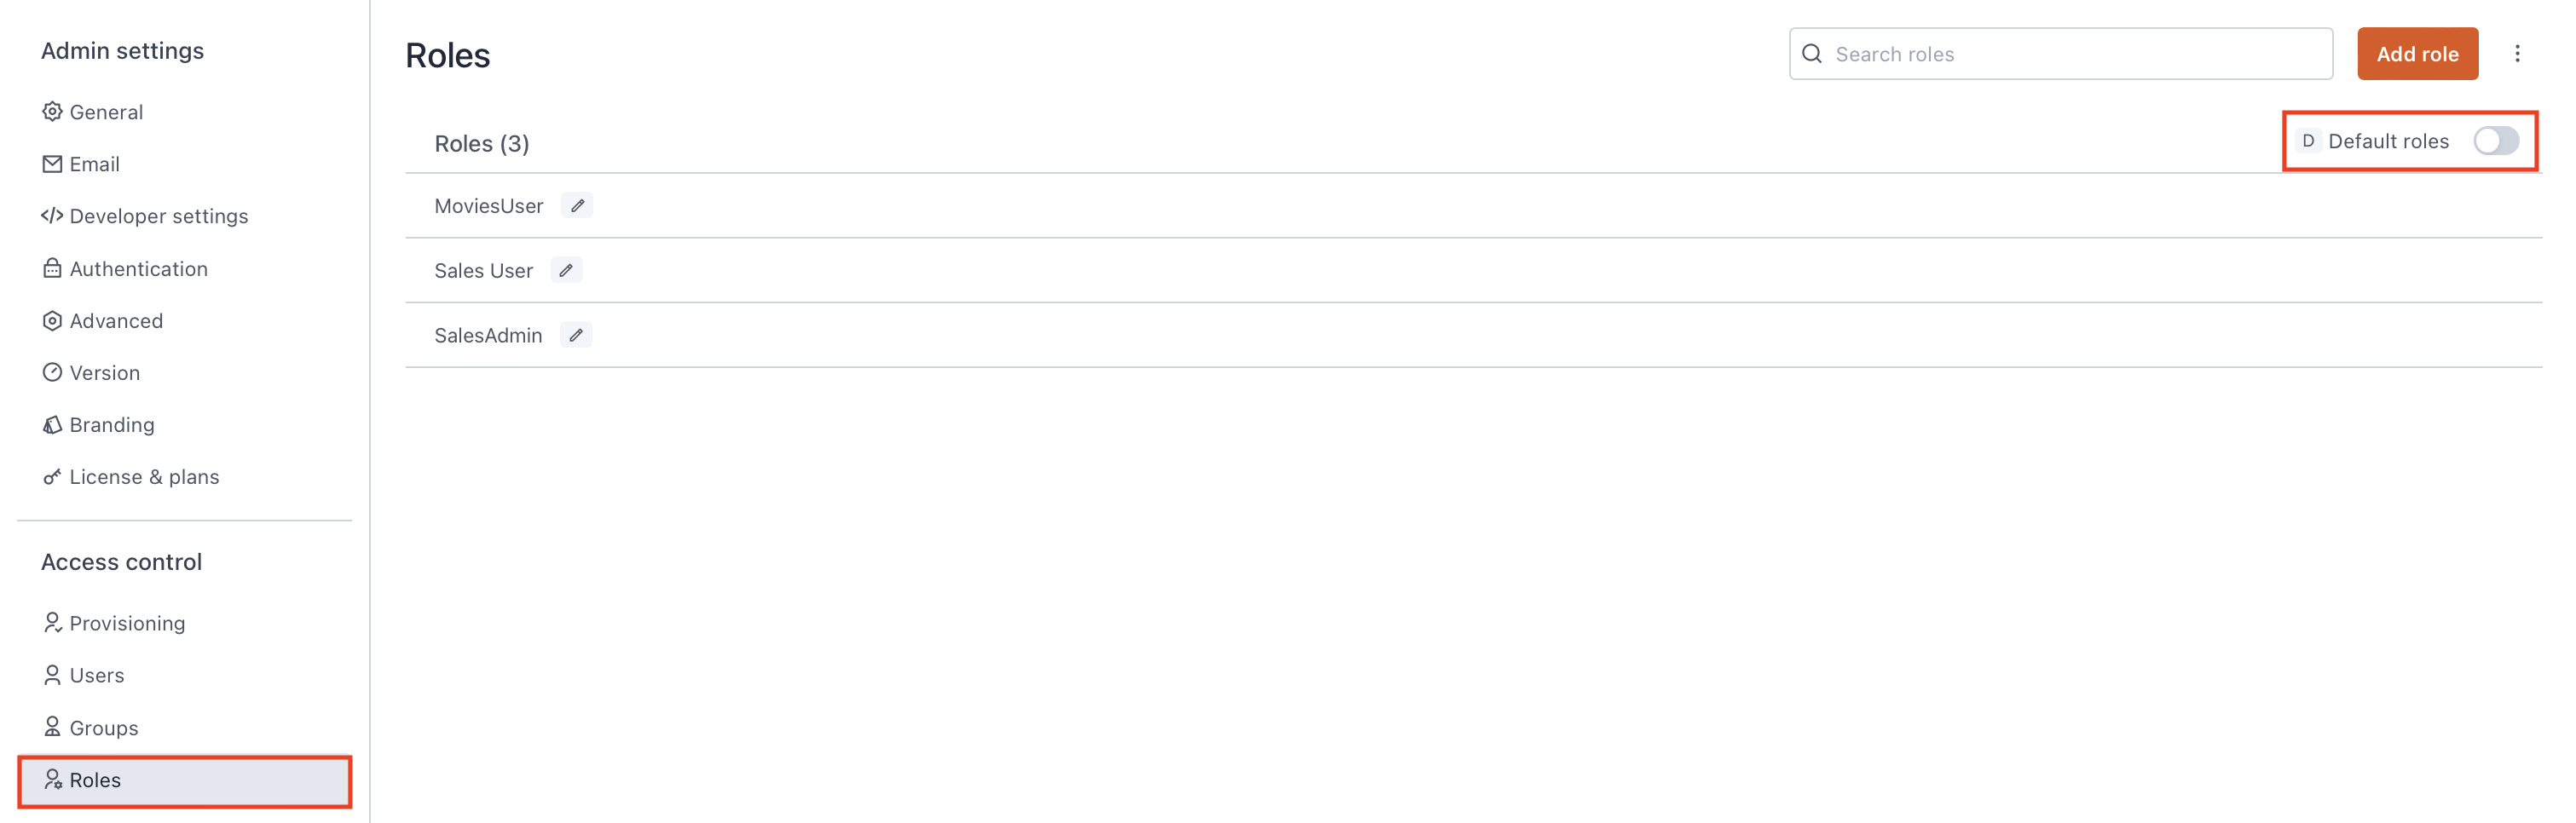
Toggle the Default roles options to view Default Roles -
Click the Default Role For All Users that opens a configuration screen.
-
Based on your permission needs, provide access to resources. For example, if you want to provide read-only access to an application so that all authenticated users can view it, assign permissions as below:
- Application Resources
- Datasources & Environments
(✓) Permission Assigned
| Resource | Create | Edit | Delete | View | Execute | Make Public | Export |
|---|---|---|---|---|---|---|---|
| Workspace | (✓) | ||||||
| Application | (✓) | ||||||
| Query | (✓) |
(✓) Permission Assigned
| Resource | Execute | Create | Edit | Delete | View |
|---|---|---|---|---|---|
| Datasources | |||||
| Datasource name | (✓) | ||||
| Environments | |||||
| Production | (✓) |
- Once you have configured the permissions, click the Save changes button.
This configuration provides read-only access to all users once authenticated to the application. For more information about permissions, see Permissions.
Troubleshooting
If you encounter any issues, contact the support team using the chat widget at the bottom right of this page.