Roles
To configure Granular Access Control (GAC), Appsmith provides pre-defined roles along with the flexibility to create your own roles. This page provides information on default and custom roles in Appsmith.
Default roles
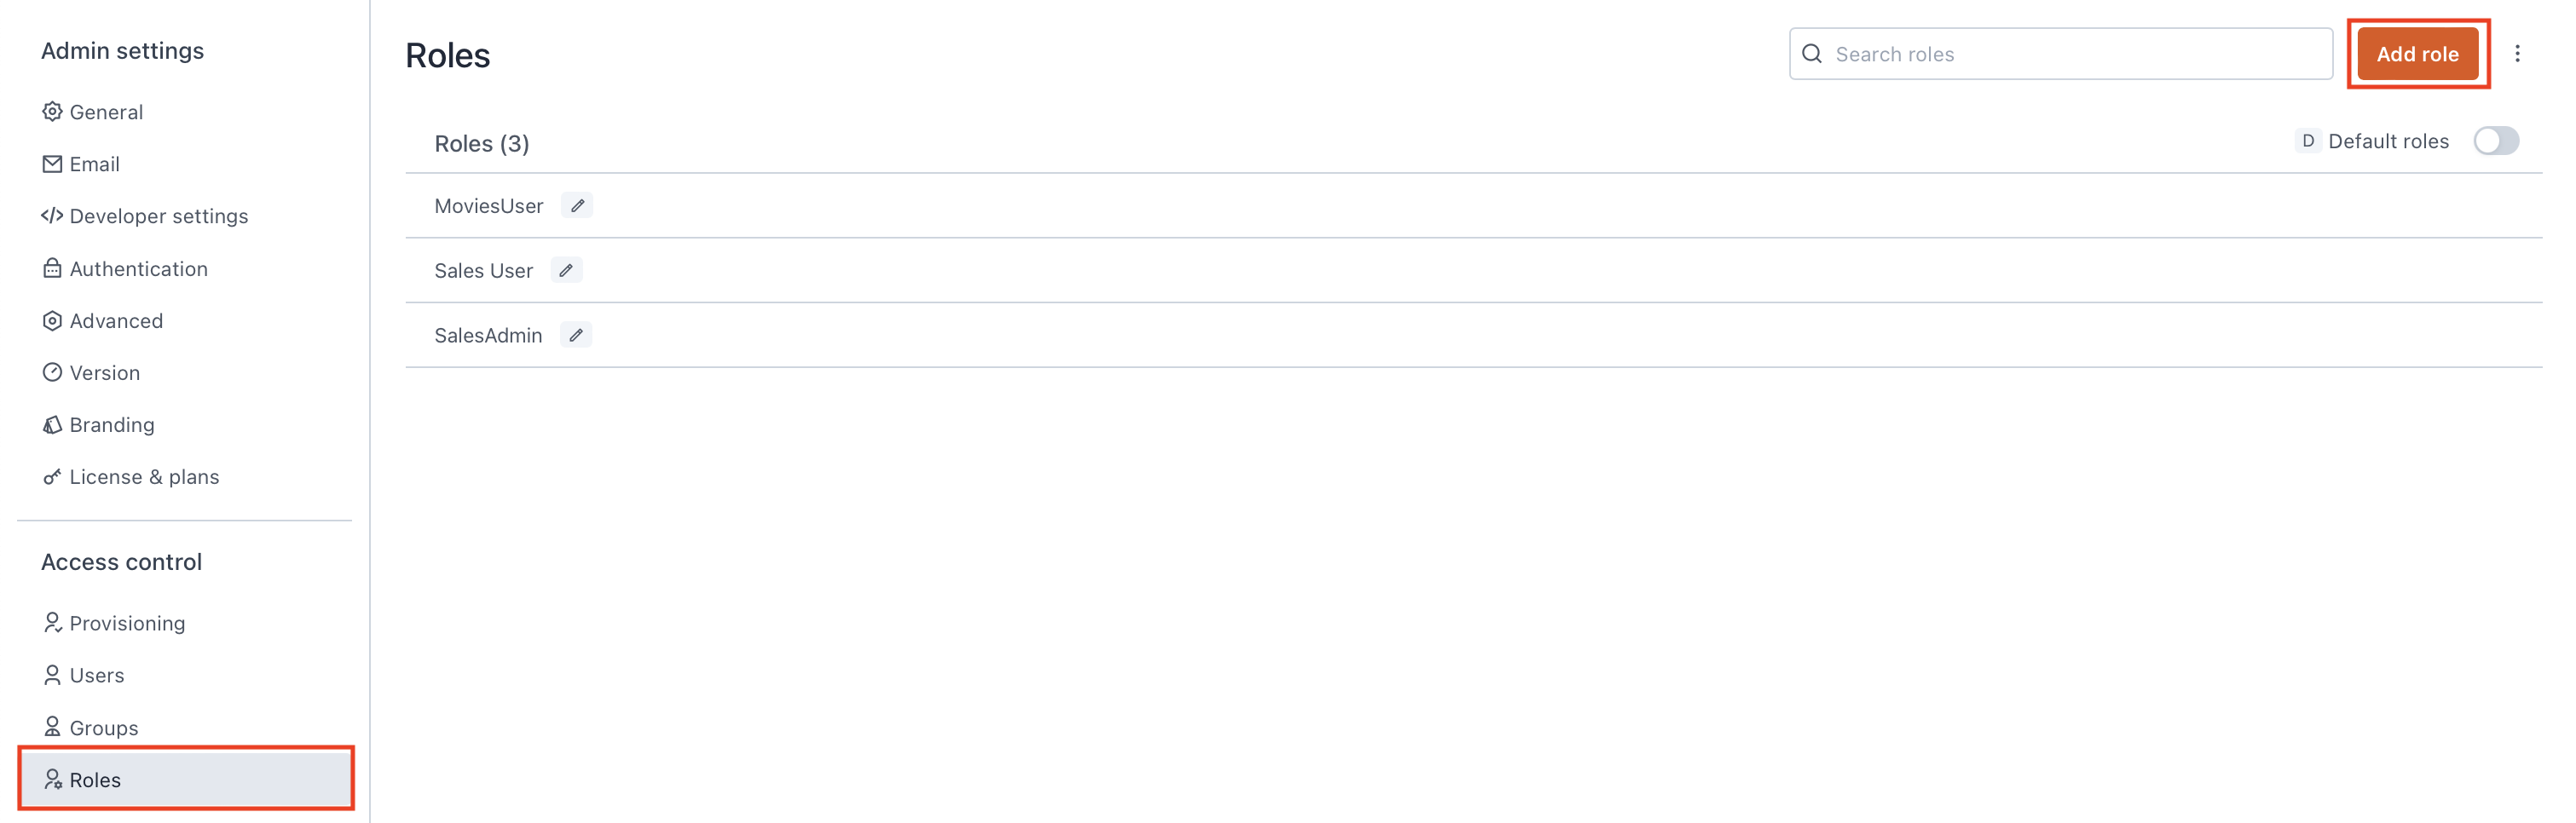
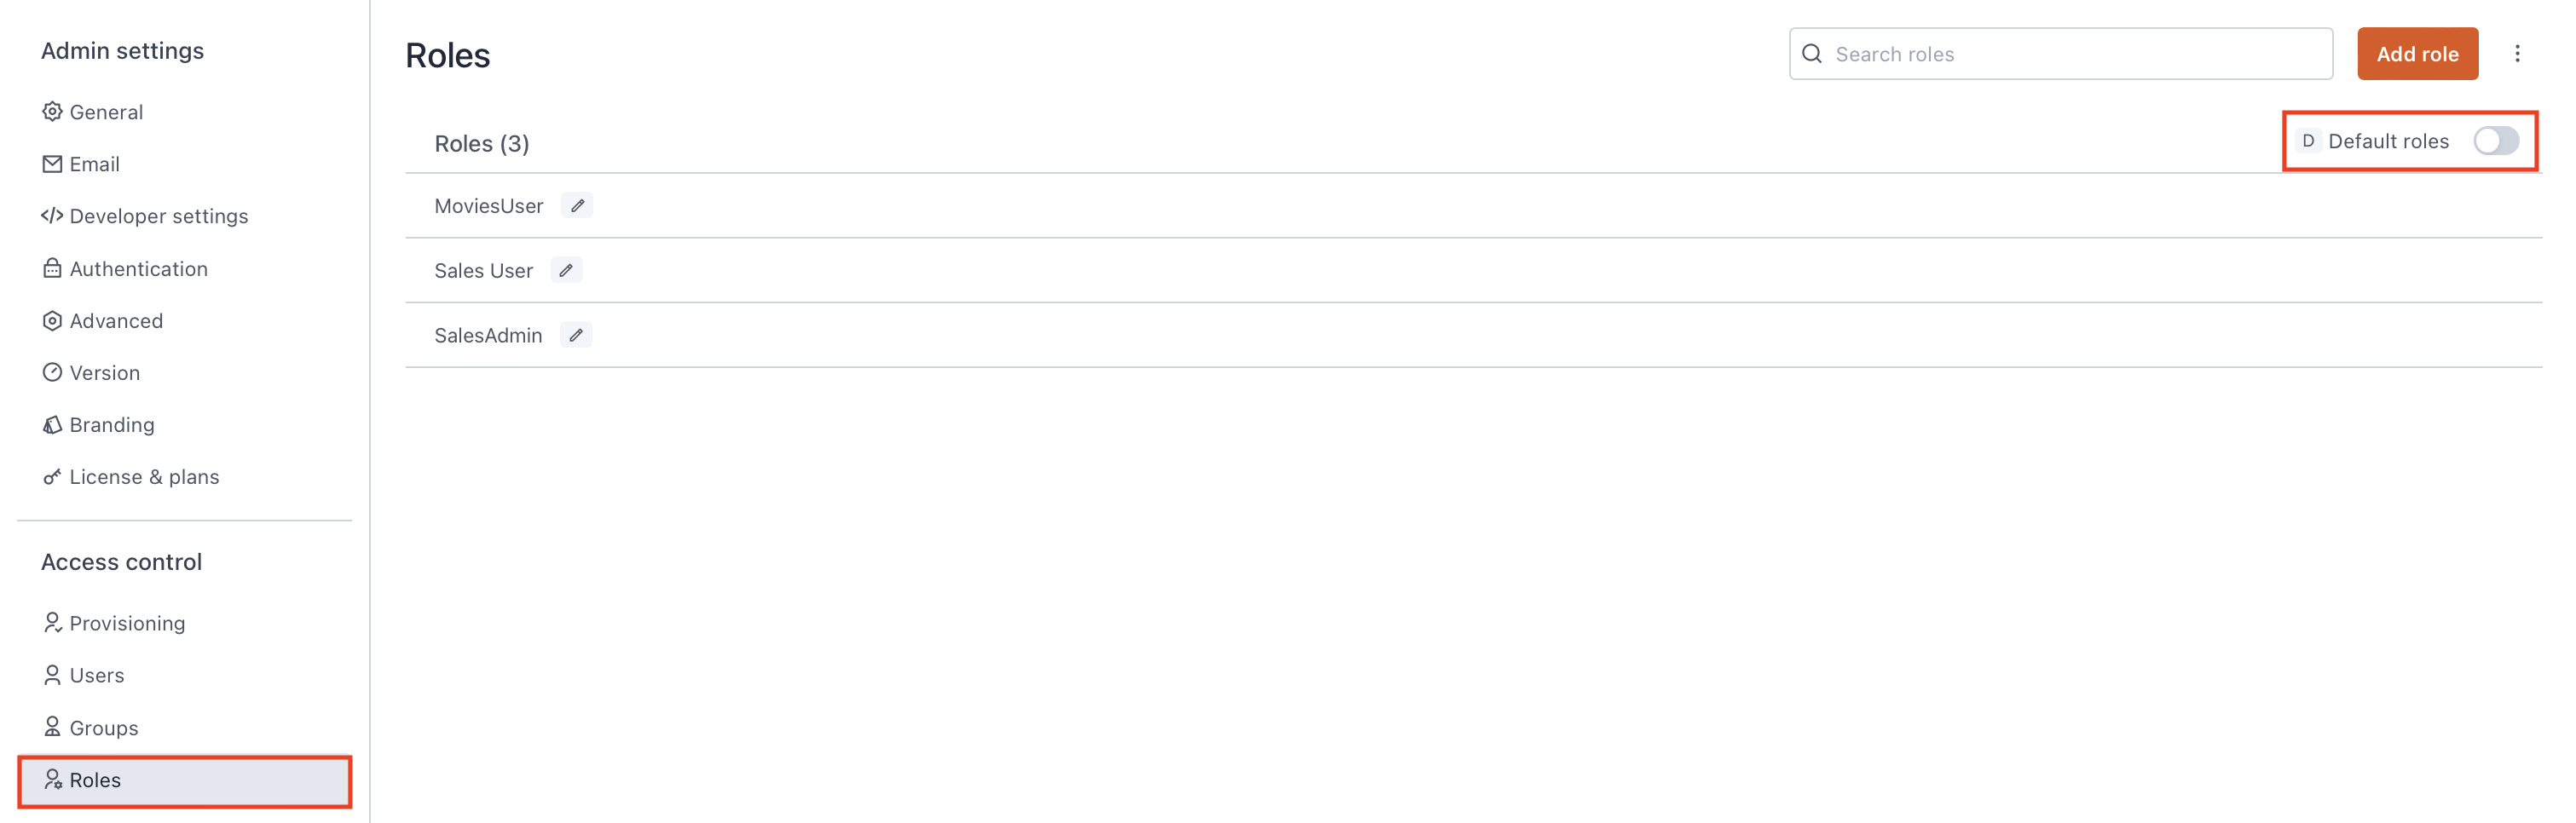
Default roles provide standardized permission sets designed to match different user responsibilities in Appsmith. They include pre-defined permissions tailored for roles such as administrators, developers, and app viewers, and cannot be altered or deleted. You can assign these roles to your users if the permissions align with your desired permission model. To view the default roles available for your Appsmith instance, toggle the Default Roles option on the Roles screen.
Instance level
Instance-level default roles have permissions that govern access to Appsmith instance, affecting all workspaces and users within the instance. Some instance-level roles can be tailored to provide specific access to all users. The instance-level roles include:
-
Organization Administrator Role - to configure instances, manage user groups and roles, create workspaces, and monitor audit logs.
-
Default Roles for All Users - helps you define some default permissions that will be applicable to all users across your Appsmith instance.
Workspace level
Workspace-level default roles control access within a specific workspace. These roles are pre-defined, offering standard access controls tailored to each workspace. The workspace level roles are not available for customization. They include:
-
Administrator - Workspace Role - to create, edit, view and delete apps, queries, datasources, environments, export apps and make apps public within a workpsace.
-
Developer - Workspace Role - to create, edit, and delete apps, pages, queries, datasources, and environments within a workspace.
-
App Viewer - Workspace Role - to provide read-only access to apps within a workspace.
Application level
Application level default roles control access within a specific application. These roles are pre-defined with standard access controls for each application. The application level roles are not available for customization, and are on-the-fly created when you share an application by providing Developer or App viewer access to the user. They include:
-
Developer - Application Role - to create pages, queries, datasources, and environments within an Appsmith app, but cannot create workspaces, and apps.
-
App Viewer - Application Role - to provide read-only access to the shared app.
Custom roles
Custom roles in Appsmith allow users to define specific permission sets tailored to their business needs. With custom roles, instance administrators can fine-tune access levels by assigning granular permissions to different users or user groups. To create a custom role, click the Add role button on the Roles screen. For more information about setting up a custom role, see Custom Roles.