Insert and Update data in SQL
This guide shows you how to insert and update data in a PostgreSQL database. The query configuration may differ when working with other SQL databases.
Prerequisites
- App Connected to a PostgreSQL datasource.
- A Table widget connected to a query that holds the data you want to edit and update.
- Form widget or a JSON Form Widget to insert or update data.
Insert single row
To insert single row, you can either use the Table widget's inline editing feature to update data directly from the Table or use a JSON Form or Form widget. If you want to insert a single row of data into a specific table in your database, follow these steps:
Example: you have a user table and you want to insert data into it using a Form widget.
-
To insert data, drag the relevant widgets into the Form widget (example: Text, Inputs, Select) and configure their properties.
-
Configure the query to insert data using data reference property:
-- For JSON Form: {{JSONForm1.formData.id}}
-- For Table inline editing: {{Table1.newRow.id}}

INSERT INTO users
(id, phone, name, gender, latitude, longitude, dob, email, image, country)
VALUES
(
   {{ Form1.data.TextID }},
   {{ Form1.data.InputPhone }},
   {{ Form1.data.InputName }},
   {{ Form1.data.SelectGender }},
   {{ Form1.data.InputLatitude }},
   {{ Form1.data.InputLongitude }},
   {{ Form1.data.DatePicker1 }}, -- To get date in the required format use: {{DatePicker1.formattedDate}}
   {{ Form1.data.InputEmail }},
   {{ Form1.data.InputImageURL }}, -- To add image from Filepicker widget use: {FilePicker1.files[0].data}}
   {{ Form1.data.SelectCountry }}
);
When prepared statements are enabled and widget bindings are used, quotes are not required.
- Set the Submit Button's onClick event to execute the query, and the onSuccess callback to trigger the fetch query that refreshes the data with the updated information.
Insert multiple rows
To insert multiple rows of data, for instance, uploading data from a CSV or Excel file, you can use the FilePicker widget.
-
In the Filepicker widget, select Array of Objects from the Data Format property.
-
Configure the query to insert data using files reference property:
INSERT INTO users (id, phone, name, gender, latitude, longitude, dob, email, image, country)
SELECT
	id,
	phone,
	name,
    gender,
	latitude,
	longitude,
    dob,
    email,
    image,
    country
FROM json_populate_recordset(null::users, '{{FilePicker1.files[0].data}}');
This SQL query uses the json_populate_recordset function to insert CSV data from the Filepicker widget into the users table. The null::users part helps determine column data types based on the users table and specifies null as the default value for missing CSV entries.
Column details in the SQL database should match the column details in the data you are inserting. Appsmith does not insert data for a mismatched column.
-
Turn off prepared statements in the query editor for this configuration. For more details, see Prepared Statements.
-
Set the Filepicker widget's onFilesSelected event to execute the query.
After completing the above steps, you can select a file from your local machine to upload and insert data.
Update single row
To update single row, you can either use the Table widget's inline editing feature to update data directly from the Table or use a JSON Form or Form widget.
Example: if you have a user table, and you need to update the name and phone fields for a specific record.
-
Connect the Source Data property of the JSON form with the Table widget to get the current data.
-
Configure the query to insert data using formData reference property:
-- For Form widget, you can use {{Form1.data.Input1}}
-- For Table inline editing: {{ Table1.updatedRow.id }}

UPDATE users SET
  name = {{JSONForm1.formData.name}},
  phone = {{JSONForm1.formData.phone}}
  WHERE id = {{ JSONForm1.formData.id }};
This query updates the name and phone columns in the users table based on the provided data from a JSON Form widget for a specific user ID.
- Set the JSON form widget's onSubmit event to execute the update query.
Update multiple rows
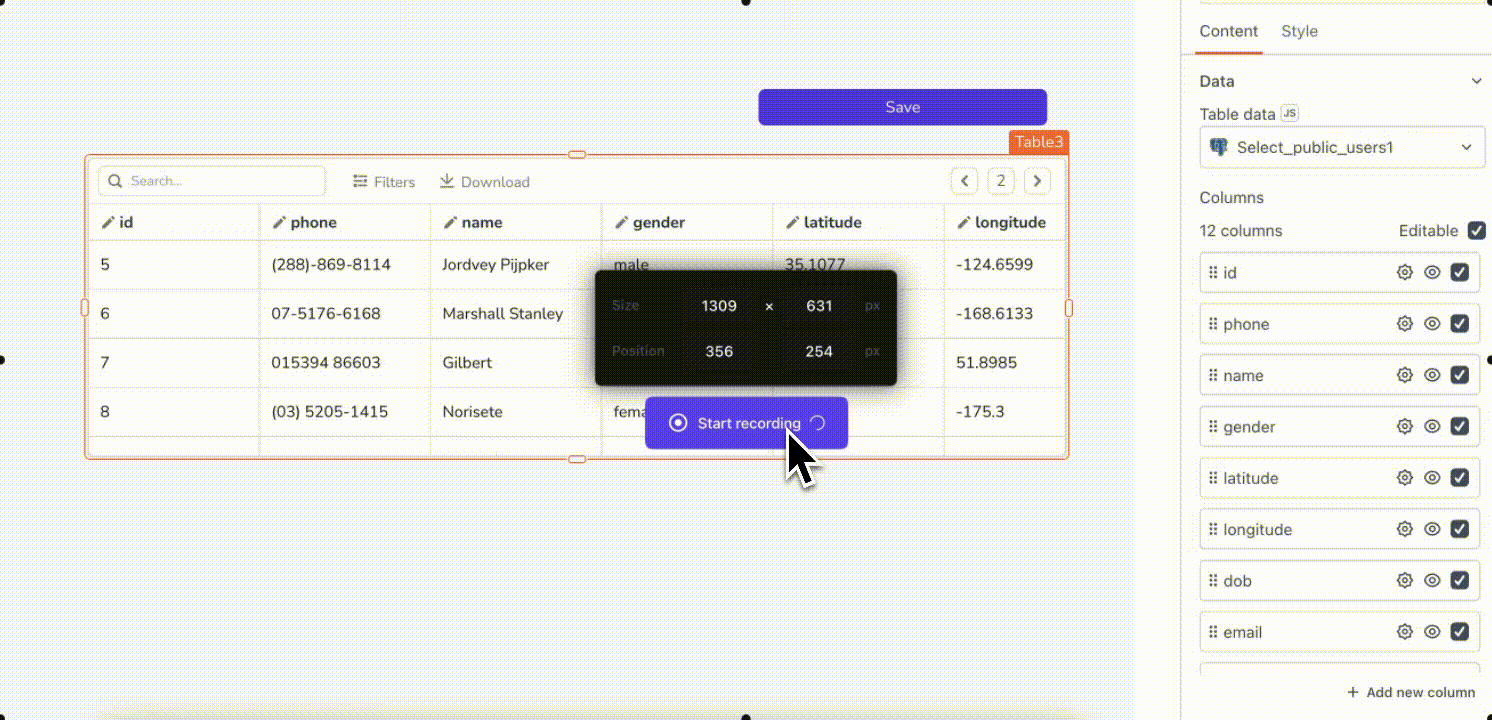
To update multiple rows at once, use the Table widget's inline editing feature.
Example: if you want to modify the name and phone columns for multiple users in a database.
-
In the Table widget's property pane, select Multiple rows from the Update mode property.
-
Enable the Editable mode for the columns you intend to modify and specify the Primary key for row identification during updates.
-
Configure the query to update data using updatedRows reference property:
UPDATE users
SET name = CASE
  {{Table1.updatedRows.map((user) => `WHEN id = ${user.id} THEN '${user.updatedFields.name}'`).join('\n')}}
END,
phone = CASE
 {{Table1.updatedRows.map((user) => `WHEN id = ${user.allFields.id} THEN '${user.updatedFields.phone}'`).join('\n')}}
END
WHERE id IN ({{Table1.updatedRows.map((user) => user.allFields.id).join(',')}});
This SQL query updates the name and phone columns in the users table based on conditions specified for rows in the updatedRows array, using CASE statements. It only applies updates to rows with matching id values.
-
Turn off prepared statements in the query editor for this configuration. For more details, see Prepared Statements.
-
Drag a Button widget, and set its onClick event to run the update query, and the onSuccess callback to trigger the fetch query that refreshes the table data with the updated information.