AWS AMI
This page provides steps to install Appsmith using an Amazon Machine Image (AMI). You may also follow the video tutorial on how to install Appsmith using an Amazon Machine Image (AMI).
Prerequisites
- Amazon Web Services (AWS) account. If you don't have one, Create an AWS Account.
- An Amazon EC2 key pair. If you don't have one, Generate an SSH Key pair.
- An Amazon Security group with ports 80, 443, and 22 accessible. If you don't have one, Create a Security Group.
- To enable port access, add an inbound rule for the port ranges 80, 443, and 22 to the security group you created above.
- To allow outbound traffic, add an outbound rule to permit all traffic. If you need specific restrictions, customize the outbound rules according to your requirements.
- Ensure you have created the security group and the SSH key pair in the same region.
- Whitelist
cs.appsmith.comin your security group’s outbound rules to allow outbound HTTPS traffic. If using a custom firewall, ensure these domains are permitted.
Install Appsmith
Follow these steps to install Appsmith using an Amazon Machine Image (AMI):
- Go to the EC2 Dashboard.
- Scroll down to the Launch instance section.
- Click the Launch instance button, and select Launch instance.
- On the Launch instance screen, scroll down to the Application and OS images(Amazon Machine Image) section.
- Search for Appsmith in the search bar.
- In the search results, click AWS Marketplace AMIs.
- Select the Appsmith image.
- On the Launch an instance screen:
a. Configure the instance as below:
| Attribute | Value |
|---|---|
| Name | Give a desired name. |
| Instance type | A minimum t3.large or t3a.large is needed. |
| Key pair | Select the Key pair you created in the Prerequisites section. |
b. Scroll down to the Networking section, and configure as below:
| Attribute | Value |
|---|---|
| Firewall (security groups) | Choose Select existing security group checkbox. |
| Security groups | Select the security group that you created in the Prerequisites section. |
-
Keep the default selection for other fields.
-
Click the Launch Instance button. You see a launch status screen as shown below:

Verify Appsmith installation
-
On the Launch status screen, click the EC2 instance id available in the bracket.
-
Click the Instance ID to access the Instance Summary page.
-
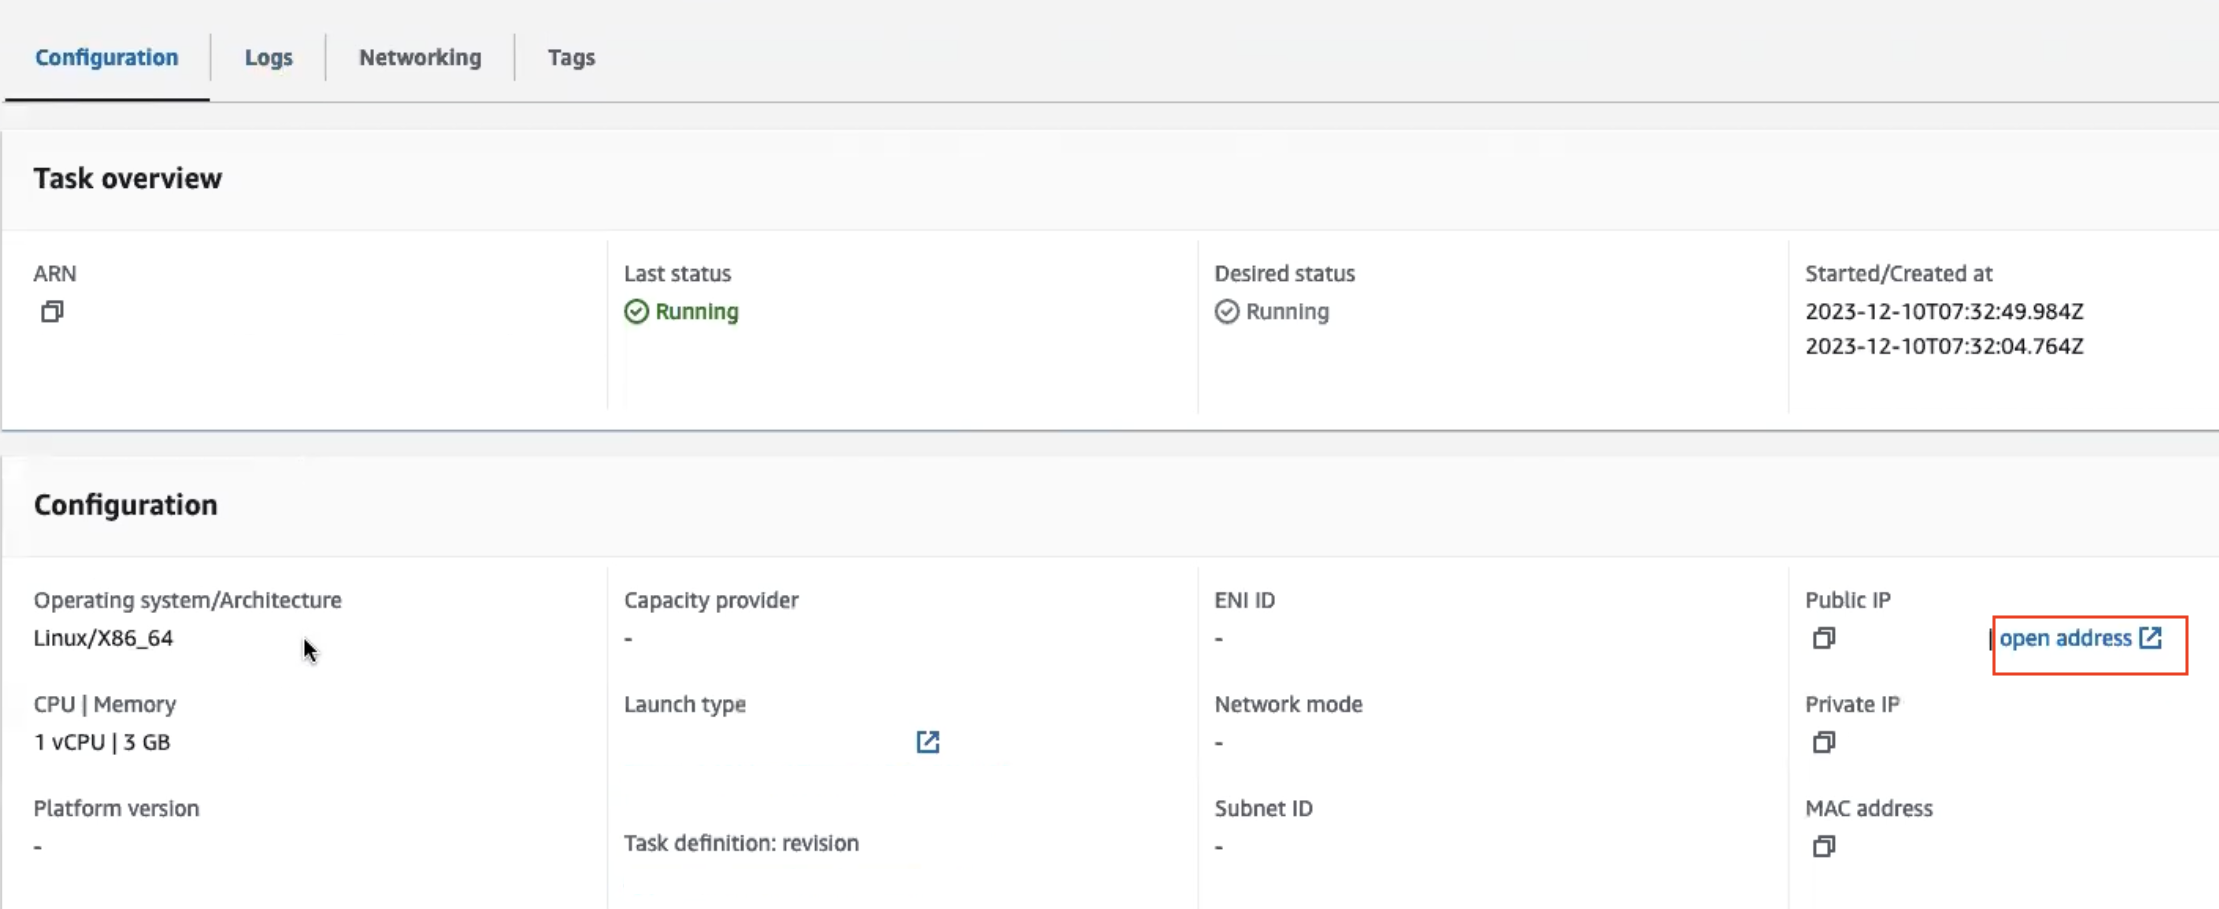
Copy the Public IPv4 address available on the Instance Summary page.

-
Paste it in a browser tab and wait for the server to come up. It can take up to 5 minutes.
-
Once the server is up and running, you can see the login screen of Appsmith.
Login with root admin
-
Username:
appsmith@example.com -
Find the password in one of the below ways:
- SSH into your server using your private key and find the application credentials with:
sudo cat /home/ubuntu/appsmith/credential - Or review the system log, by selecting Get System Log from the Actions drop-down menu for your instance. The credentials are printed in the logs as shown below:
The application password is only available in system logs for the initial 24 hours. It's recommended that create a new admin user and delete the appsmith@example.com user immediately.

- Once you've created an account, you can either start with the free plan or activate your instance with a license key. If you want to generate a license key, sign up on customer.appsmith.com to create one, and then proceed to activate your instance using the newly generated license key.
Install Appsmith Community
To install the open source edition of Appsmith (Appsmith Community), choose the Appsmith Community Edition in step 7 of the Install Appsmith section on this page.
Post-installation configuration
Once you have completed the installation process, consider performing the tasks below to configure and manage your Appsmith instance, enhancing its security and performance, specifically if it's intended for production use.
Configure SSO to allow users to sign in using your identity provider. Learn more about configuring SSO.
Set up an email service to enable Appsmith to send notifications and alerts. Learn more about configuring email services.
Set up a custom domain for your Appsmith instance and secure it with SSL. Learn more about setting up custom domains and SSL.
Ensure the safety of your Appsmith instance data by regularly backing up and restoring it when needed. Learn more about Backup and Restore.
Troubleshooting
If you are facing issues during deployment, refer to the guide on troubleshooting deployment errors. If you continue to face issues, contact the support team using the chat widget at the bottom right of this page.
See also
- Manage Installation: Learn how to manage your Appsmith instance.
- Upgrade Installation Guides: Learn how to upgrade your Appsmith installation.