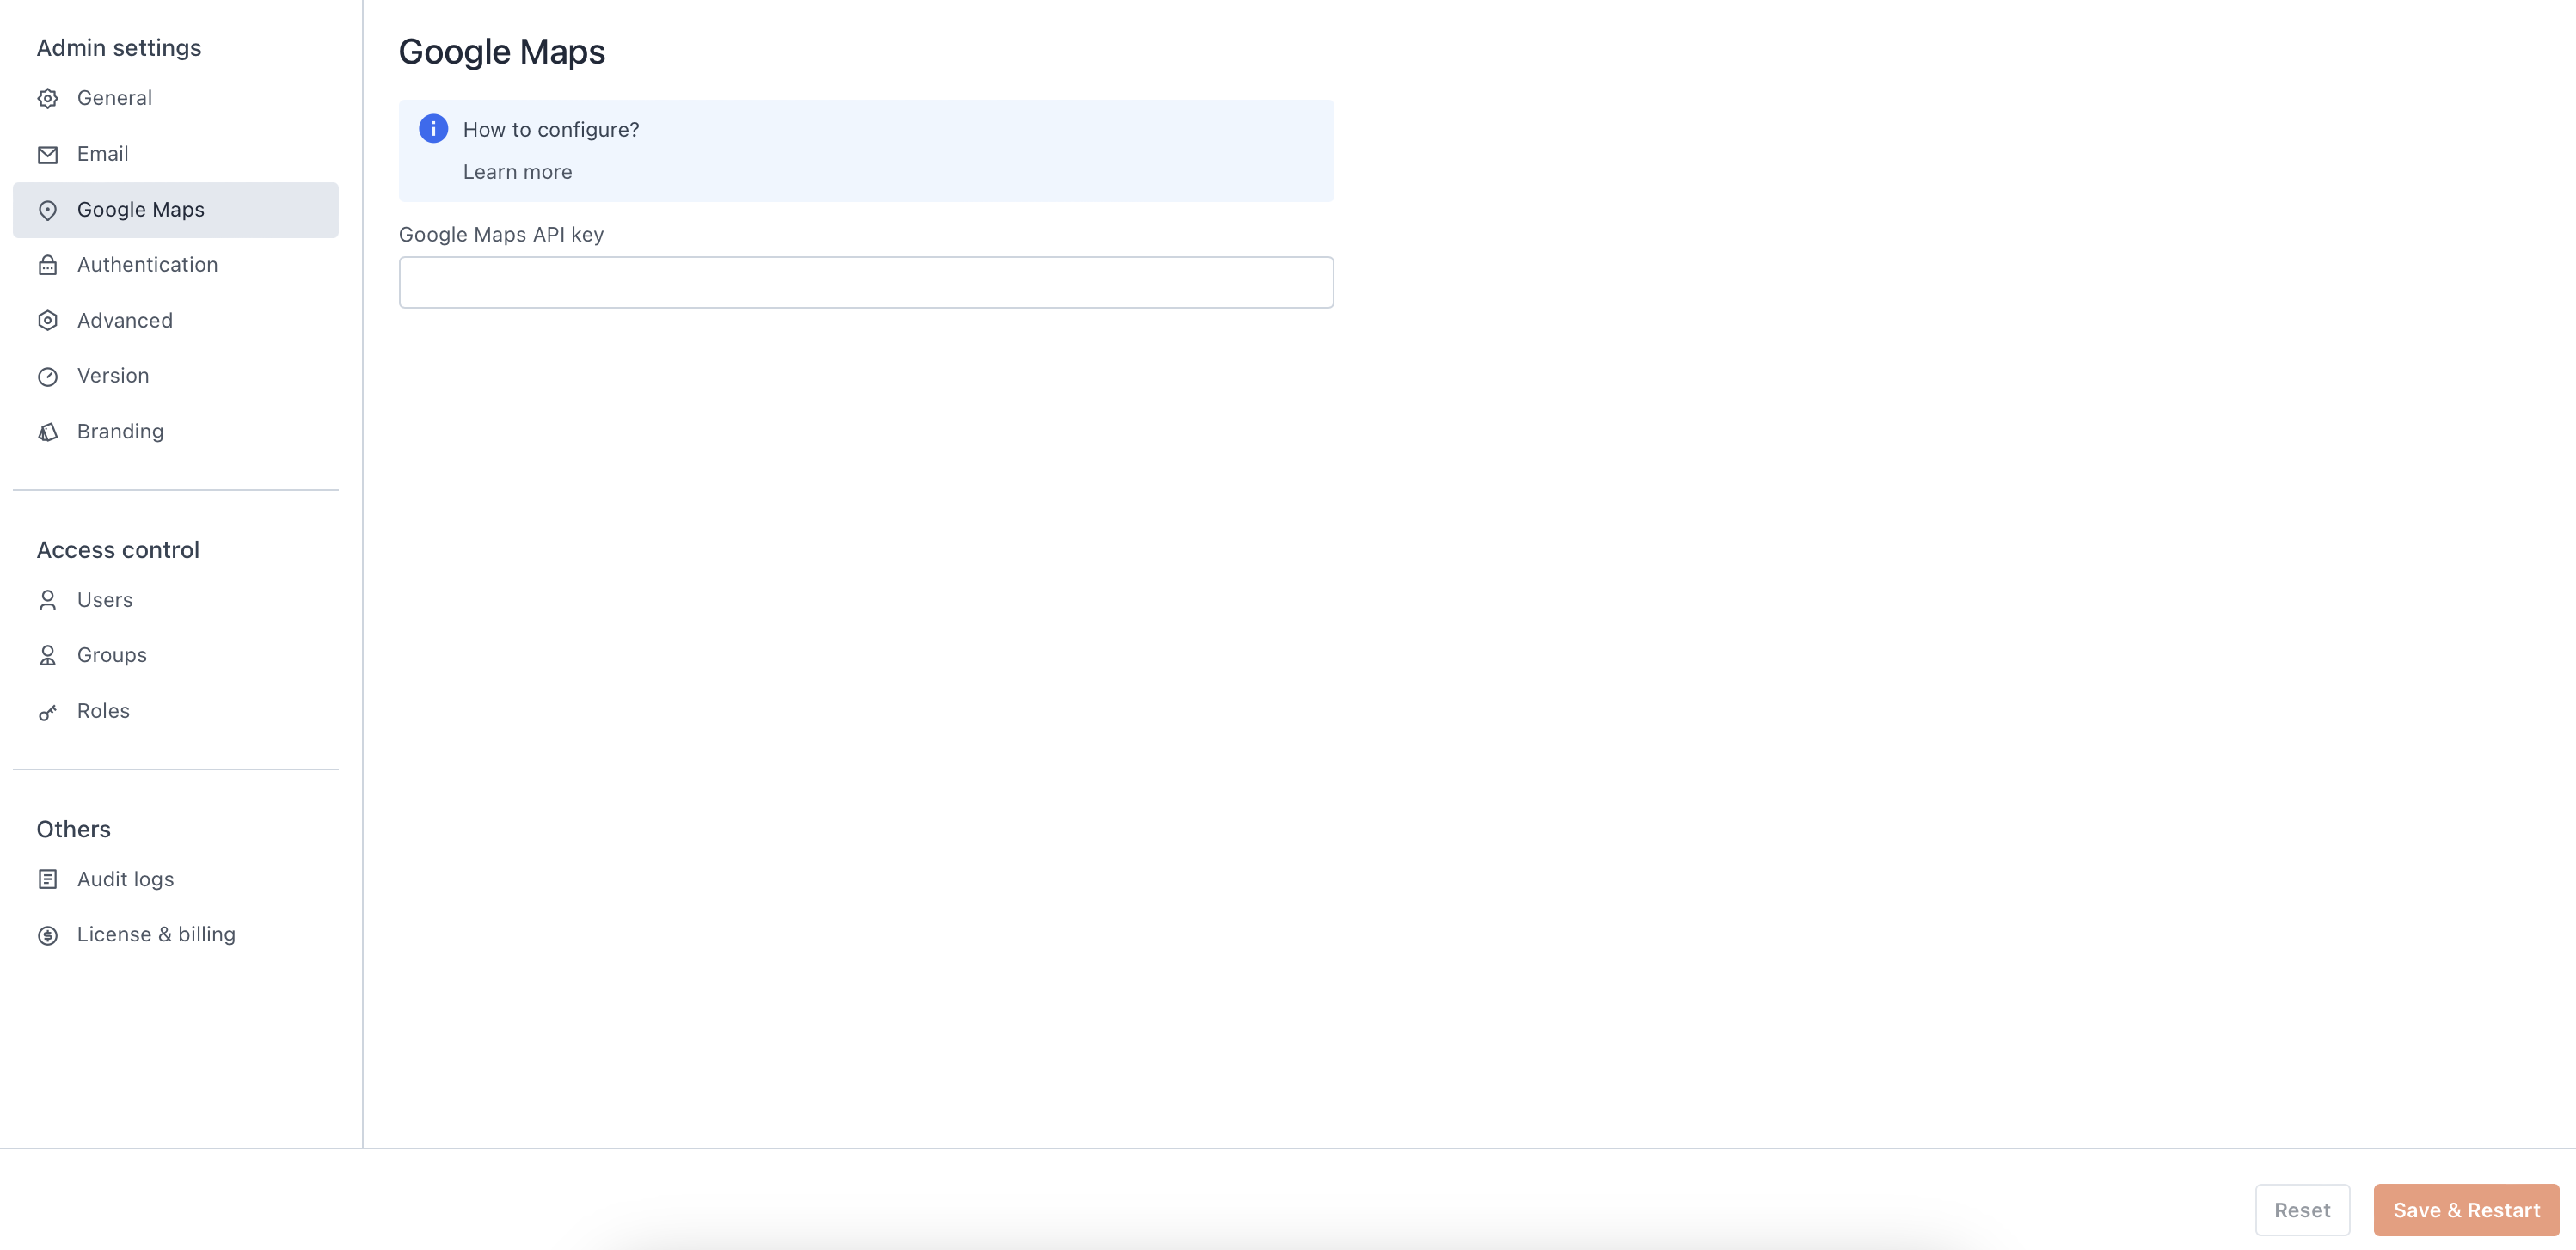
Configure Google Maps
This page provides instructions to integrate Google Maps for using the Map Widget in your applications on a self-hosted instance.
Prerequisites
- A self-hosted Appsmith instance. See the installation guides for details.
- A Google Cloud account.
- You are either an Instance Administrator or have permissions to access Admin settings.
Generate Google Maps API key (optional)
If you already have an API key, skip to the Set up Maps API key section. Otherwise, follow these steps to generate an API key:
- Log into the Google Cloud console.
- Generate a Google Maps API key by following the Create API keys guide.
- Restrict the Google Maps API key using the Restrict API keys guide.
- Ensure that Maps Embed API, Maps JavaScript API, Places API, and Geolocation API are enabled during the API key restriction process.
Configure Maps API key
To configure the API key via Admin Settings, follow these steps:
If an API key is configured using an environment variable, it takes precedence over the value set via Admin Settings. To configure using environment variables, see the Google Maps API key environment variable reference.
-
Log into your Appsmith instance.
-
Go to Admin Settings by clicking the gear (⚙️) icon in the top right corner of your Appsmith Dashboard.
-
Click the Developer settings from the sidebar.

Add your Google Maps API Key -
Enter your API key in the Google Maps API Key field.
-
Click Save to apply the changes.
You're all set to use the Map Widget in your Appsmith applications.
Troubleshooting
If you face issues, contact the support team using the chat widget at the bottom right of this page.
See also
- Admin settings: Learn how to manage instance settings through the Appsmith Admin Settings UI.
- Configure environment variables: Step-by-step instructions to set up environment variables for your Appsmith instance.
- Environment variables: Overview of all available environment variables for configuring your Appsmith instance.