Resolve Merge Conflicts in Git
This guide offers strategies for resolving these conflicts to ensure smoother collaboration and project management in Git. The specific steps may vary depending on your Git service provider and local code editor; please refer to the documentation of your provider for specific instructions.
You can encounter merge conflicts in two cases:
- When merging two separate branches.
- When updating changes to a local or remote branch.
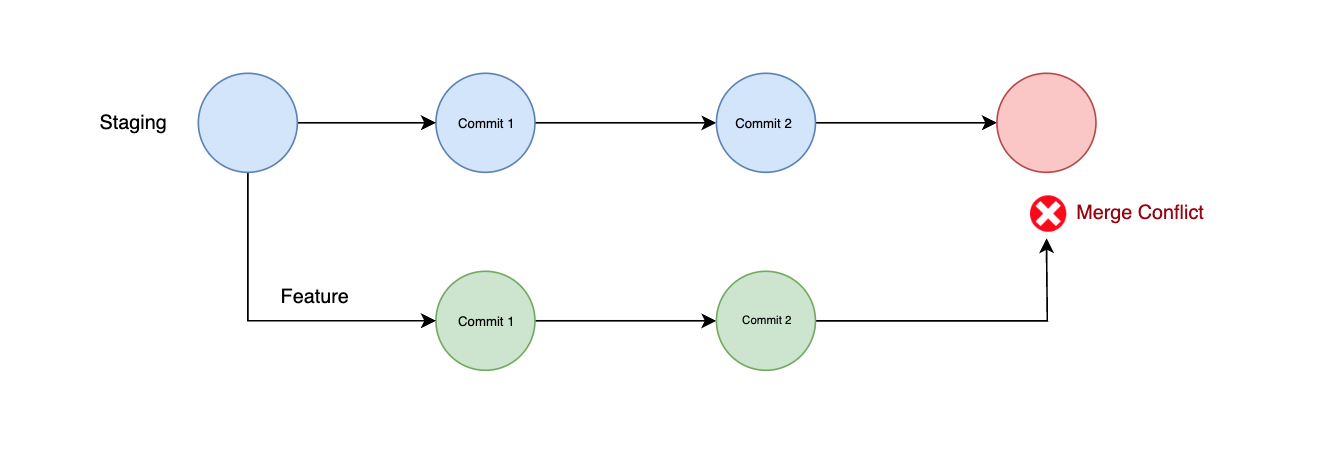
Branch merge conflicts
Merge conflicts occur when changes from different branches overlap, leading to conflicts that need manual resolution.
- To resolve these conflicts, raise a pull request for your source branch, targeting the destination branch where you intend to merge the changes.
Example:
If you're working on the feature branch and want to merge changes into staging, but are facing conflicts, you can raise a pull request for your feature branch on your Git provider, targeting the staging branch for merging.
- Once the PR is created, scroll down to the bottom of the PR page:
-
If the Resolve conflicts button is available, you can resolve conflicts directly from the pull request interface by selecting the conflicting files and making the necessary changes.
-
If the Resolve conflicts button is disabled, you need to clone the Git repository to your local machine and resolve the conflicts using the command-line interface. If you don't want to resolve conflicts locally, you can use tools like GitHub.dev, GitLab Web IDE to resolve conflicts directly from your browser.
For more information, see how to resolve a merge conflict on GitHub, GitLab, Bitbucket.
-
After resolving all conflicts in all files and ensuring that the changes are correctly edited, click on Commit merge, and Merge the pull request.
-
Update your Appsmith app by pulling the changes.
Example:
If you are facing issues merging from a feature branch to staging, then ensure you are on the staging branch in your Appsmith app and pull the changes there.
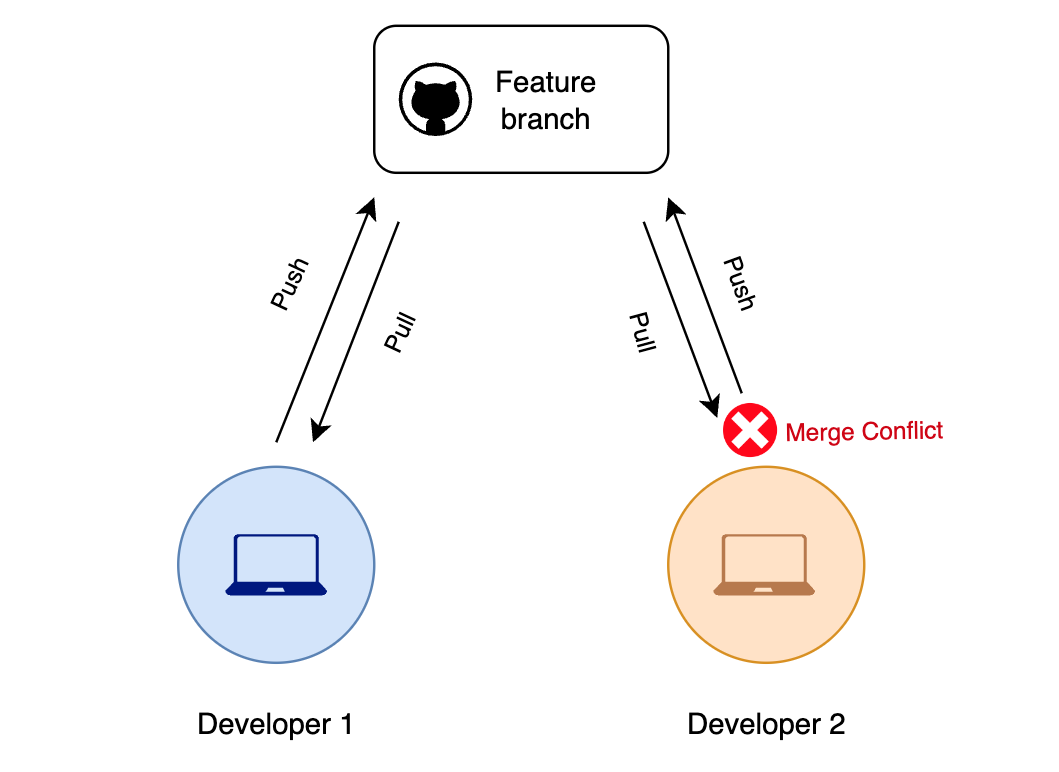
Remote branch pull conflicts
These conflicts arise when changes in your local branch cannot be directly merged with changes in the remote branch. For example, If you're working on the feature branch and someone else pushes changes to the remote counterpart of the same branch, you may encounter conflicts if both have edited the same files.
- Create a new branch from the conflicted branch and raise a Pull Request.
Example:
Create a new branch from your local feature branch, name it feature-fix, and then raise a pull request from this new branch against the original feature branch.
- Once the PR is created, scroll down to the bottom of the PR page:
-
If the Resolve conflicts button is available, you can resolve conflicts directly from the pull request interface by selecting the conflicting files and making the necessary changes.
-
If the Resolve conflicts button is disabled, you need to clone the Git repository to your local machine and resolve the conflicts using the command-line interface. If you don't want to resolve conflicts locally, you can use tools like GitHub.dev, GitLab Web IDE to resolve conflicts directly from your browser.
For more information, see how to resolve a merge conflict on GitHub, GitLab, Bitbucket.
-
After resolving all conflicts in all files and ensuring that the changes are correctly edited, click on Commit merge, and Merge the pull request.
-
In Appsmith, click Discard and Pull from the commit modal to update the app.
Example:
If you face conflicts within the same branch due to changes made remotely, open your Appsmith app, click on the + icon, and click Discard and Pull. This discards any local changes that have not been saved and updates your app with the latest changes from the remote branch.