Auth0
To configure Appsmith to use Auth0 as an OIDC provider, follow the steps below:
Prerequisites
-
A self-hosted Appsmith instance. See the installation guides for installing Appsmith.
-
Before setting up Single Sign-On (SSO), ensure that you have already configured a custom domain for your instance.
-
In Appsmith, go to Admin Settings > Authentication and click Enable on OIDC.
-
Copy the Redirect URL from the OIDC configuration page to add it when creating the application in Auth0.
Create application in Auth0
-
Log in to your Auth0 account and go to Applications > Create Application.
-
In the Create application modal, select Regular Web Application and click Create.
-
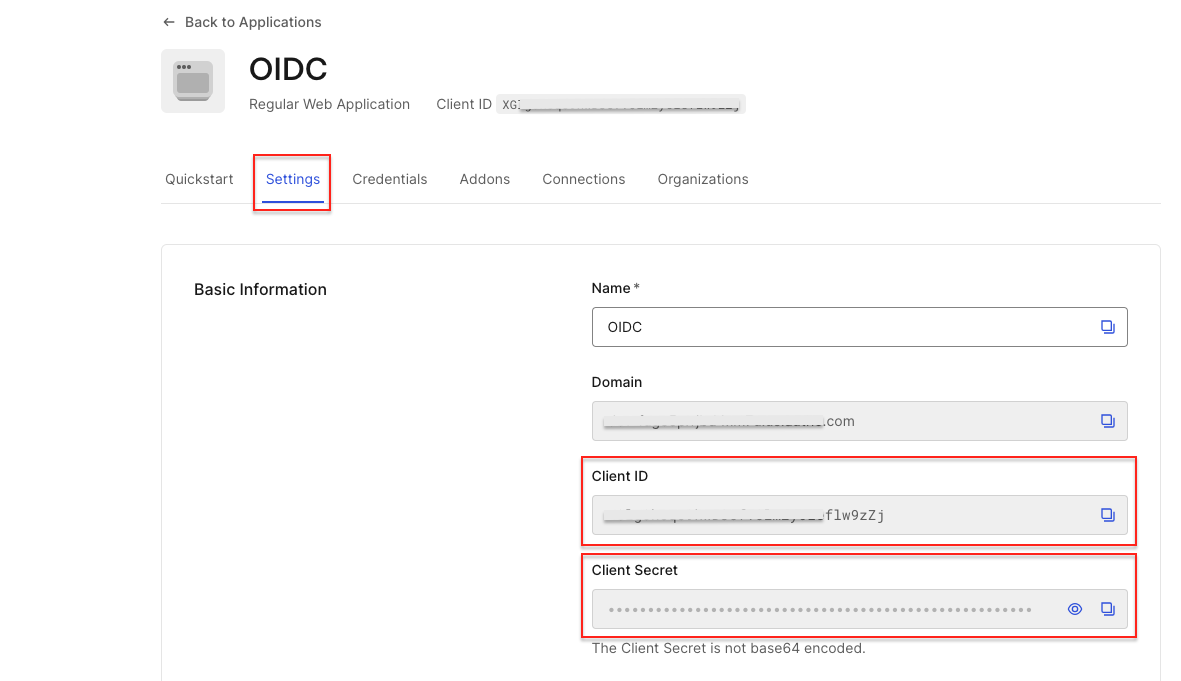
In the Integration screen, click Skip, then open the Application Settings tab.
-
In the basic information section, copy the Client ID and Client Secret to add them later in the OIDC configurations in Appsmith.
-
Scroll down to the Application URIs and paste the Redirect URL copied from the OIDC configuration in Appsmith in the Allowed Callback URLs field.
-
In the Settings tab, navigate to Advanced Settings > Endpoints. Copy the following URLs from the OAuth section to use later in your OIDC configuration in Appsmith:
-
OAuth Authorization URL
-
OAuth Token URL
-
OAuth User Info URL
-
JSON Web Key Set
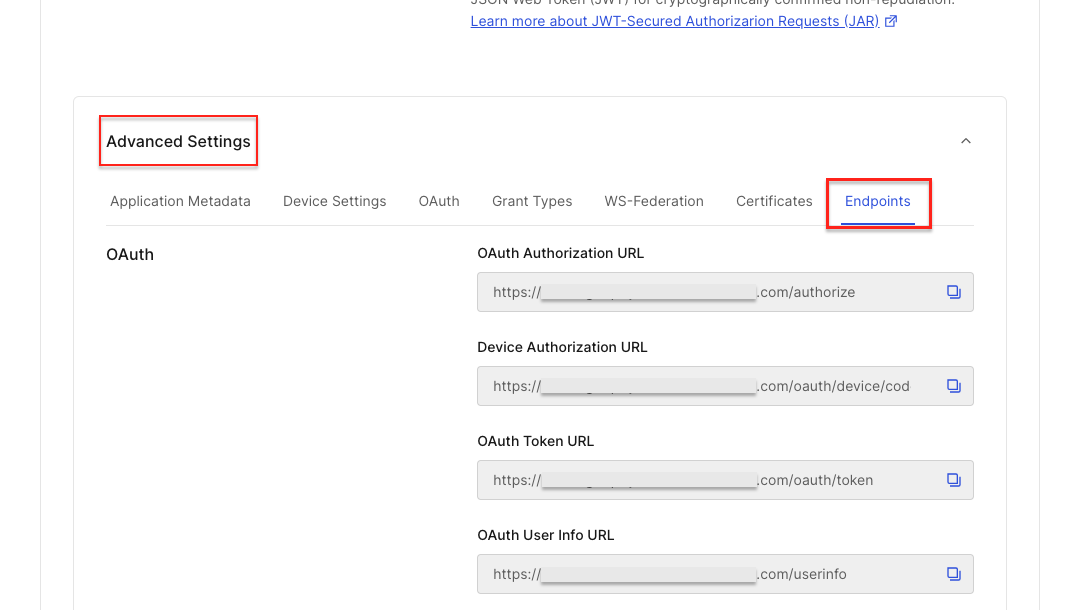
- Click Save Changes.
Register Auth0 in Appsmith
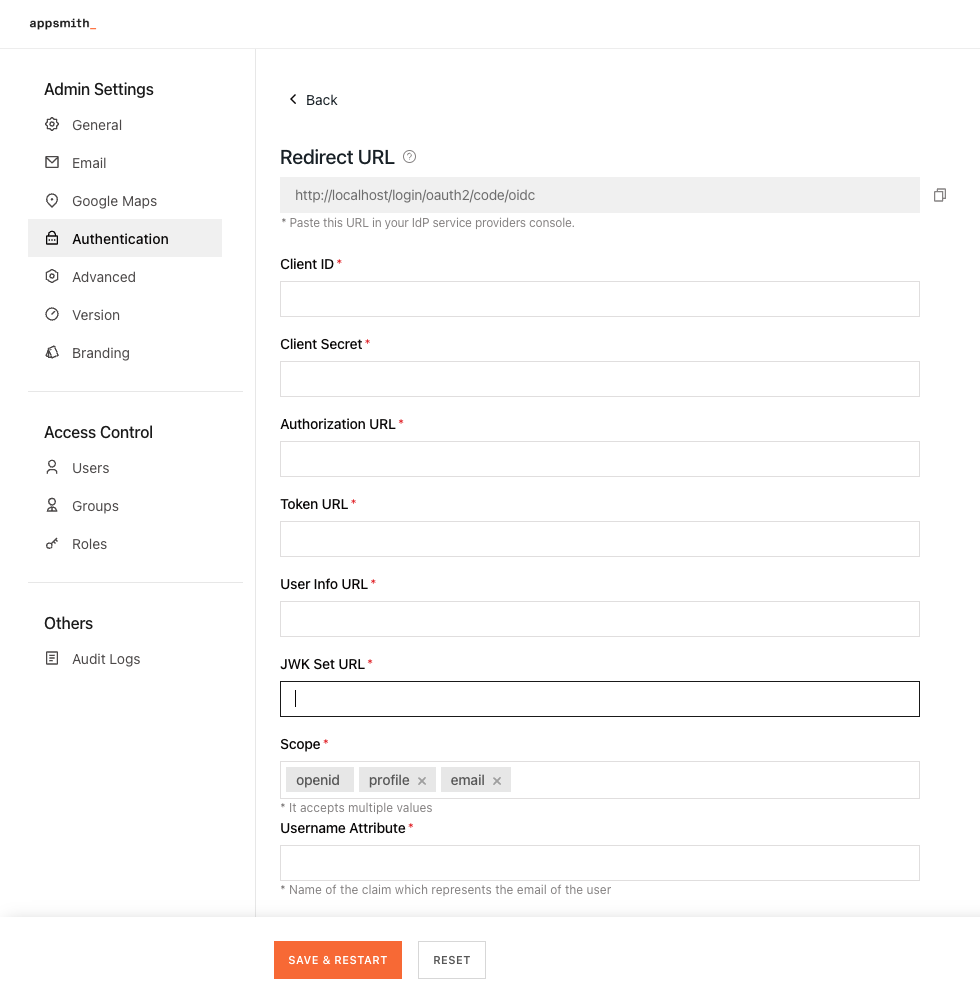
To complete the OIDC configuration, you must register the identity provider on Appsmith. Go to Admin Settings > Authentication > OIDC, and follow the steps below:
-
Add the Client ID and Client Secret copied from the Auth0 application into the respective fields.
-
Add the URLs copied from the Auth0 application into OIDC configurations in Appsmith as per the table below:
| OIDC configuration field | Auth0 URL |
|---|---|
| Authorization URL | OAuth Authorization URL |
| Token URL | OAuth Token URL |
| User Info URL | OAuth User Info URL |
| JWK Set URL | JSON Web Key Set |
- In the Scope box, specify the scopes to be used by the application during authentication to authorize access to a user's details. By default, there are three scopes -
openid,email, andprofile.
Appsmith needs openid and email as mandatory scopes. It’s also highly recommended to use the offline_access scope to avoid errors related to expired access tokens and excessive re-login requests. For more information, see Auth0 documentation.
-
In the Username Attribute box, specify the name of the claim which represents the email of the user. The default value is
email. -
Once you have added the details, click the SAVE & RESTART button to save the configuration and restart the instance.
If you're running Appsmith on a Kubernetes cluster with an HA configuration, after completing the setup, run the following command to ensure the new authentication settings are properly applied:
kubectl rollout restart deployment/appsmith -n
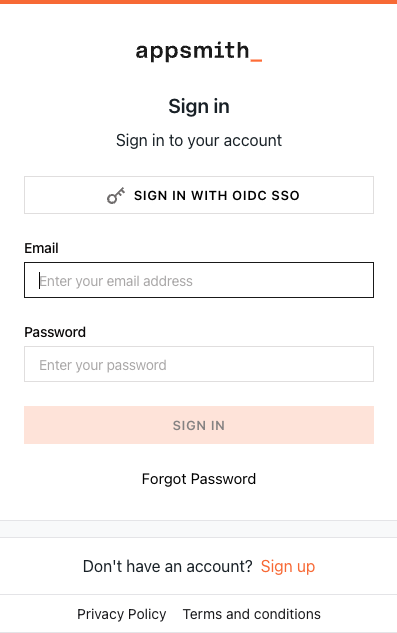
After the Appsmith instance restarts, try logging in again to your account. You'll see a login screen with the SIGN IN WITH OIDC SSO button.