Using GitHub Actions
This guide shows how to integrate Continuous Delivery with Git in Appsmith, enabling automatic updates to the master branch with GitHub Actions. This eliminates the need for manual pulling after each update.
Prerequisites
- A self-hosted instance of Appsmith. Refer to the Appsmith installation guides for detailed instructions on setting up your Appsmith instance.
- An app that is already connected with Git. See How to Connect Git Repository.
- Basic knowledge of GitHub Actions.
Configure continuous delivery
Follow these steps to configure a GitHub Actions workflow and automate continuous delivery for your Appsmith application:
-
Open the GitHub repository connected with your Appsmith application.
-
Navigate to the Actions tab and select the option to set up a workflow.
-
Rename the file to
deploy-appsmith.yaml, and add the following code to enable automatic deployment of changes to your Appsmith application.
name: appsmith-cd  # Workflow name

on:
  push:
    branches:
      - master  # Trigger on push to master branch

jobs:
  deploy-appsmith:
    runs-on: ubuntu-latest  # Run on Ubuntu

    steps:
      - run: "curl -f --location --request POST https://app.appsmith.com/api/v1/git/deploy/app/65f14c735?branchName=master --header 'Authorization: Bearer <bearer token>'"
This YAML code defines a GitHub Actions workflow named appsmith-cd that triggers on every push to the master branch. Within this job, a single step is defined to execute a curl command.
-
Open your Appsmith application and then select Git Settings located on the left side of the bottom bar.
-
Click on the Continuous Delivery tab.
-
Select the branch where you want to implement continuous delivery. For example, the
masterbranch or anyfeaturebranch. -
Copy the provided endpoints and paste them into your CI/CD pipeline configuration. Replace the
curlcommand with the command provided by Appsmith(as mentioned in the YAML file in step 3). -
Generate and copy the bearer token for authenticating requests to the provided endpoint. Save this token for future reference. Once done, click the Finish Setup button in your Appsmith application.
-
In Github, add the bearer token. It is recommended that you create secrets or secure variables instead of directly adding them to the repository.
Example: You can use GitHub Secrets, where you can securely add your token in the repository's Secrets and Variables settings. In the deploy-appsmith.yaml file, replace the Authorization: Bearer <bearer token> with Authorization: Bearer ${{ secrets.APPSMITH_CD_KEY }}
For information see Github action secrets.
-
Commit the YAML file changes to the repository.
-
To check the status, click the Actions tab:
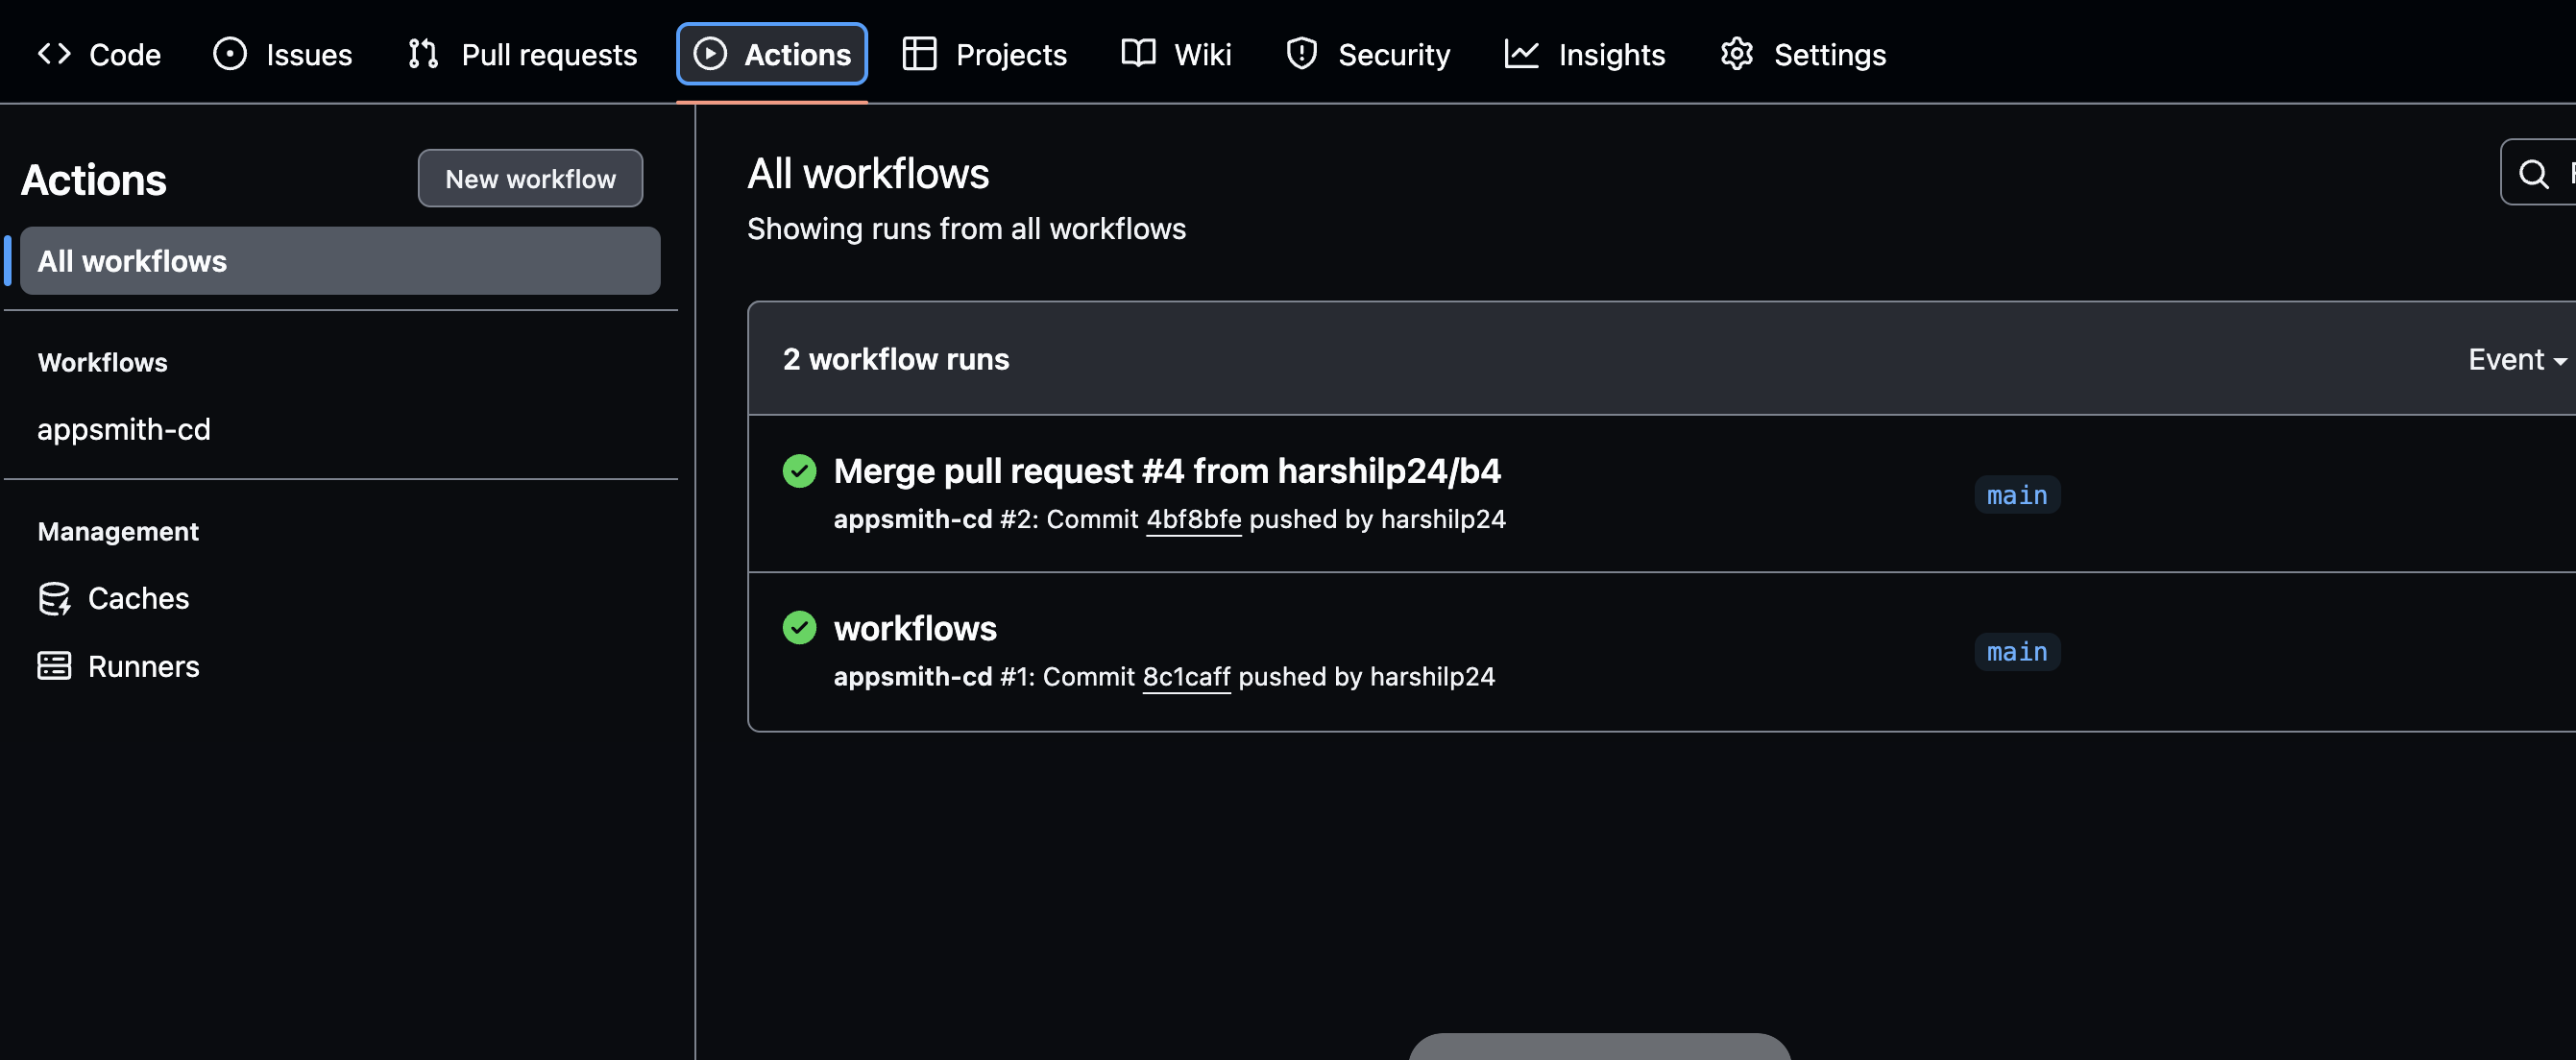
Upon successful completion of the run, you can monitor the workflow's status, access detailed log information from its execution, and gather various other data.
Test the continuous delivery
Follow these steps to test continuous delivery after you have committed the YAML workflow file and added the bearer token:
-
Open the Appsmith App and create a new feature branch.
-
Commit & Push your modifications to the designated feature branch.
-
Open the GitHub repository and raise a pull request.
-
When you merge this into the
masteror specified branch, the GitHub Actions workflow automatically triggers and updates the deployed version and branch accordingly.
The changes are deployed to that branch without the need to pull the changes manually. Additionally, the live version of the Appsmith app reflects those changes.